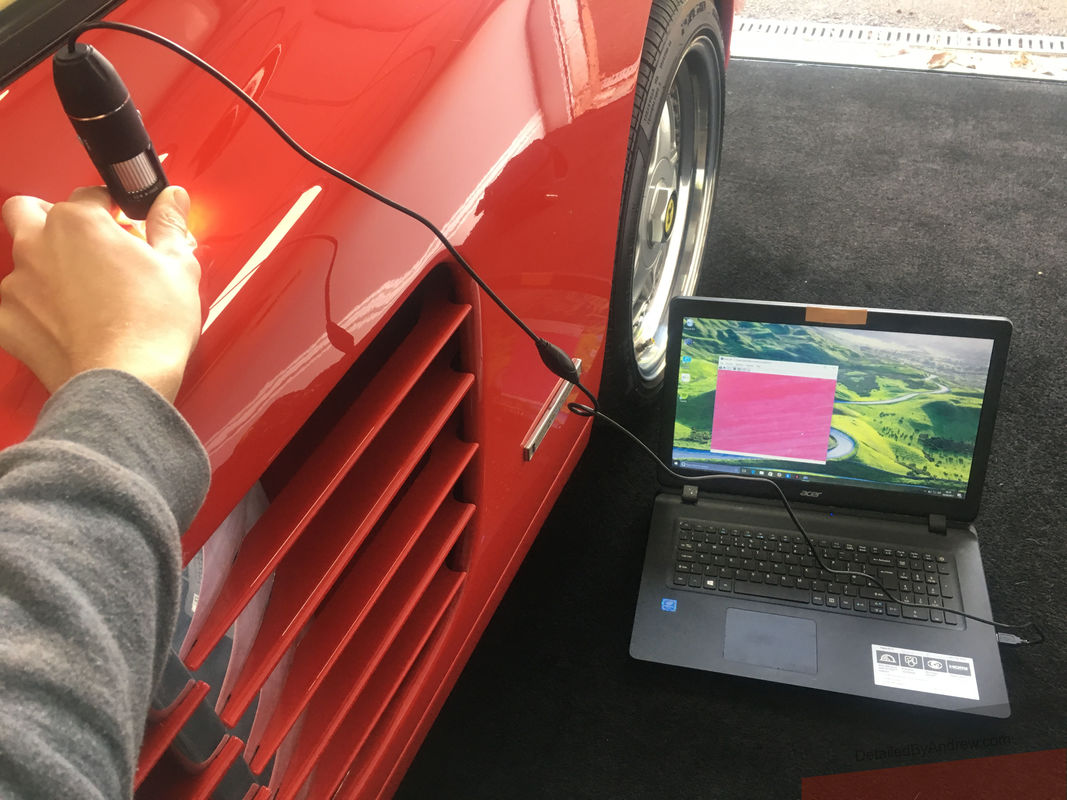
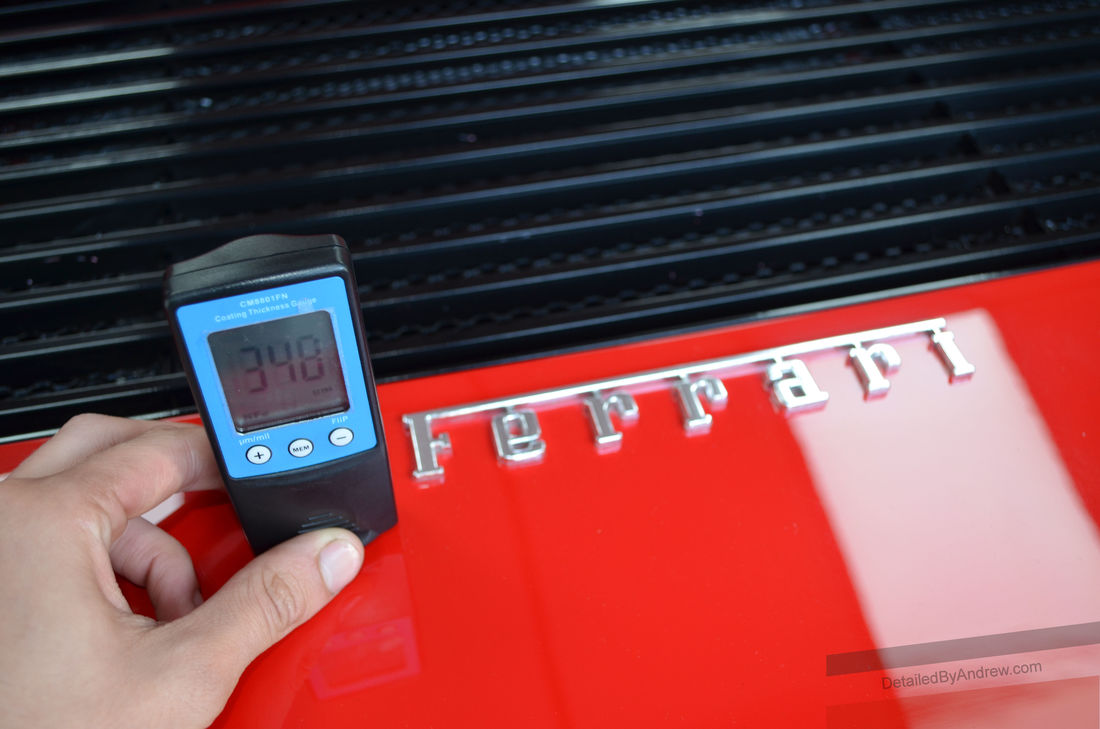
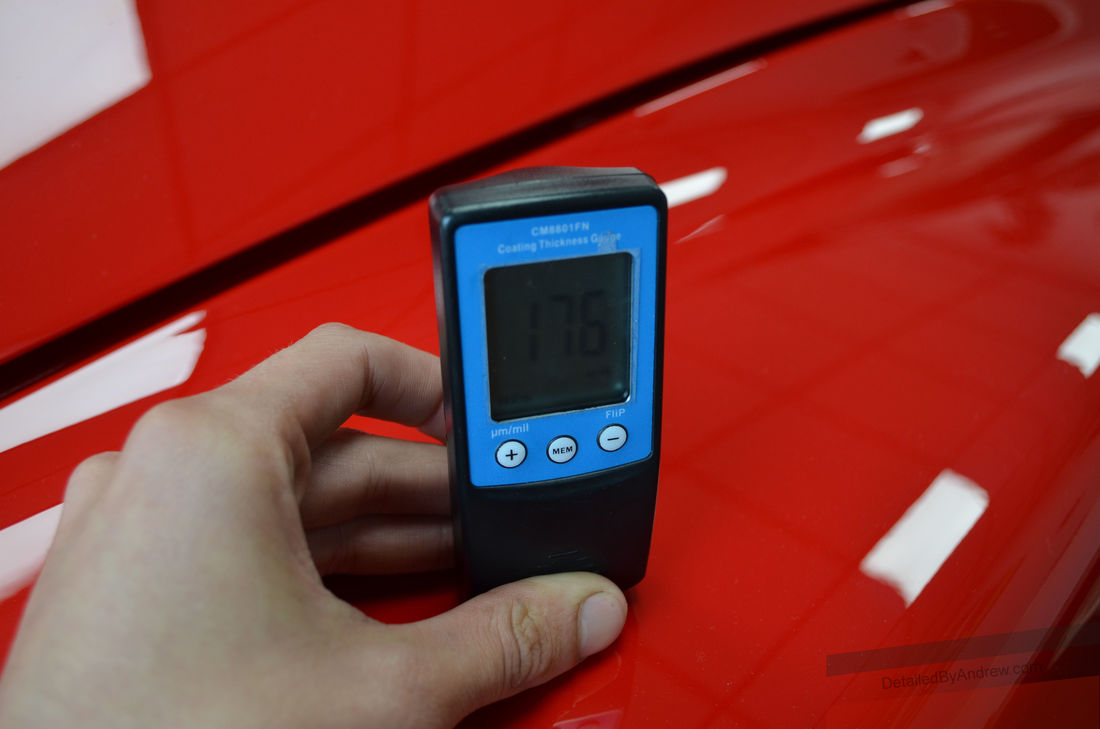
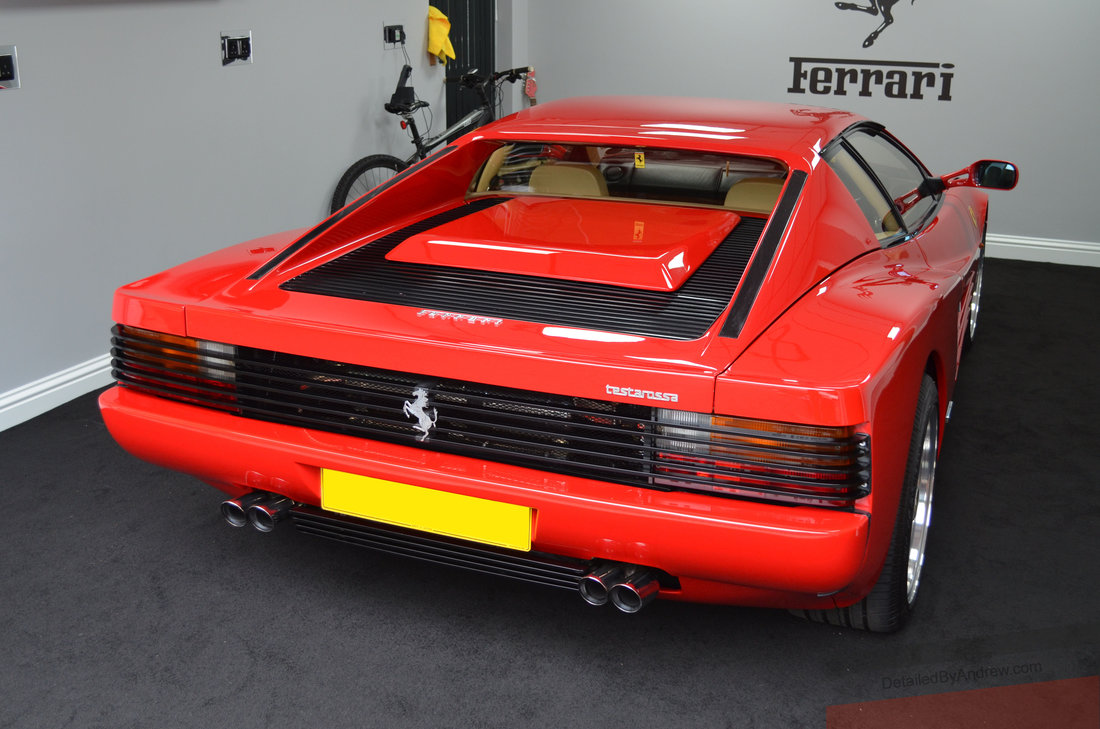
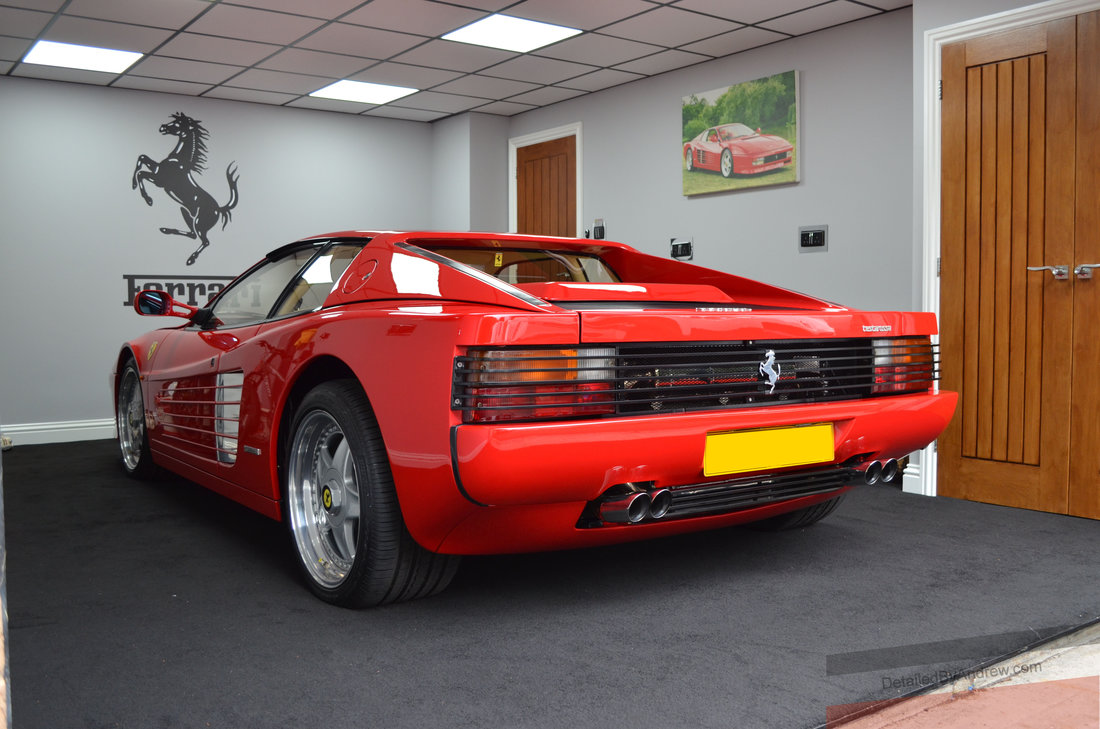
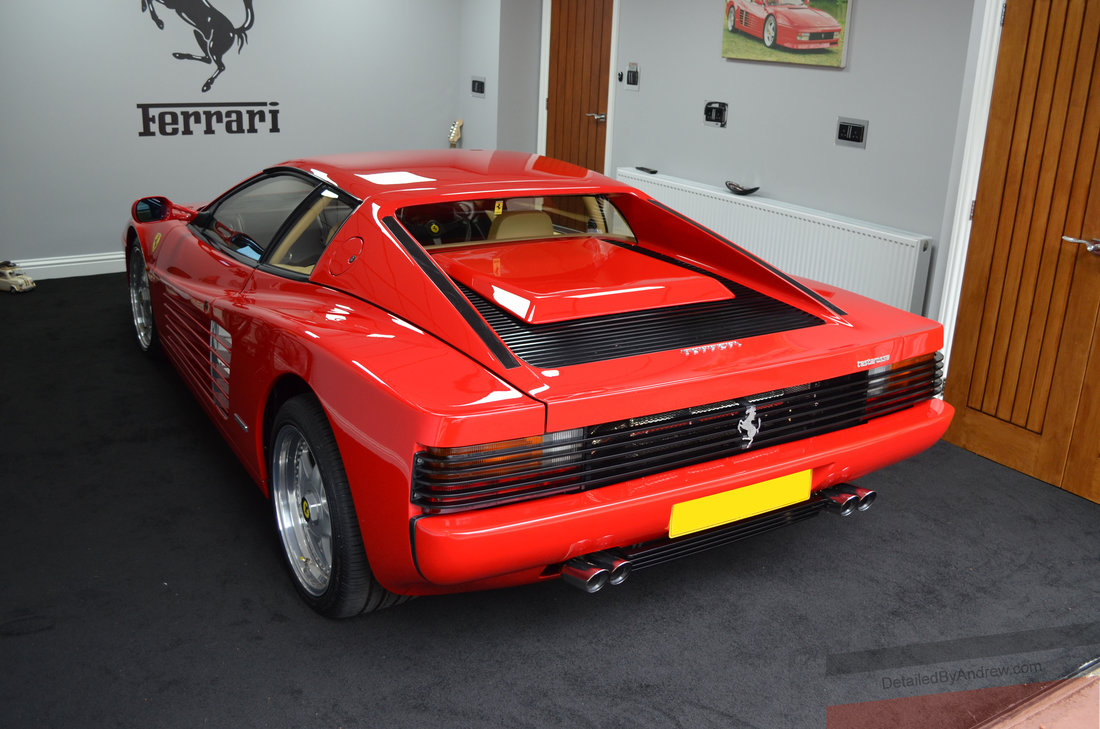
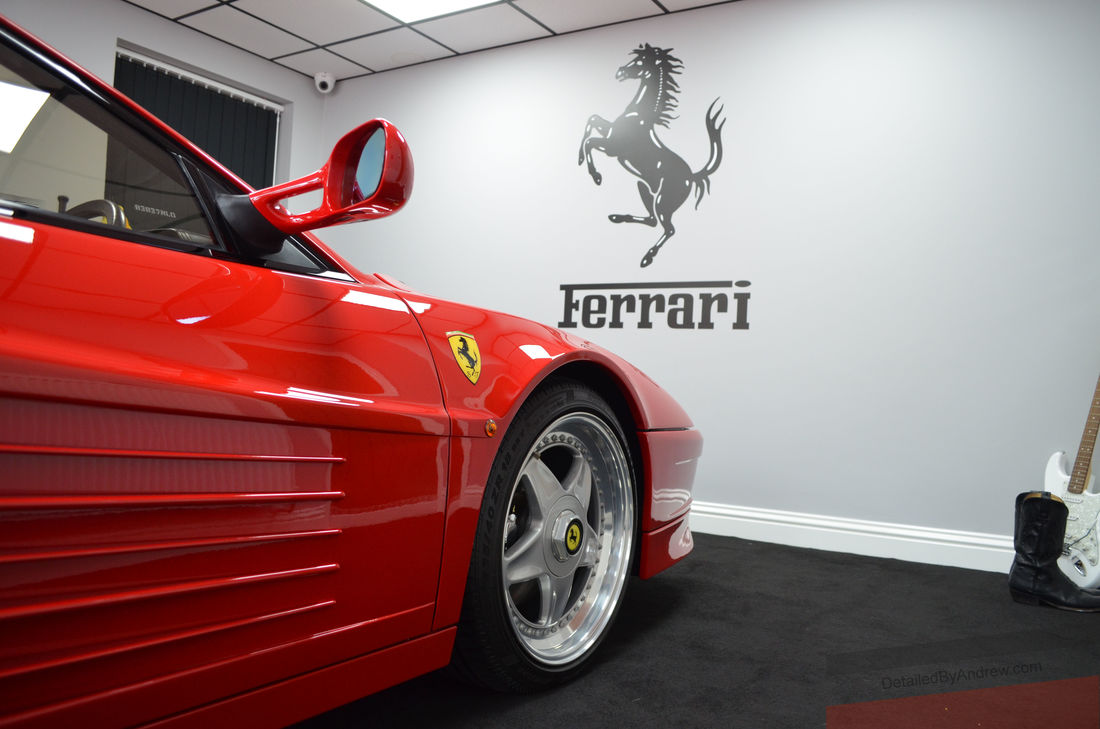
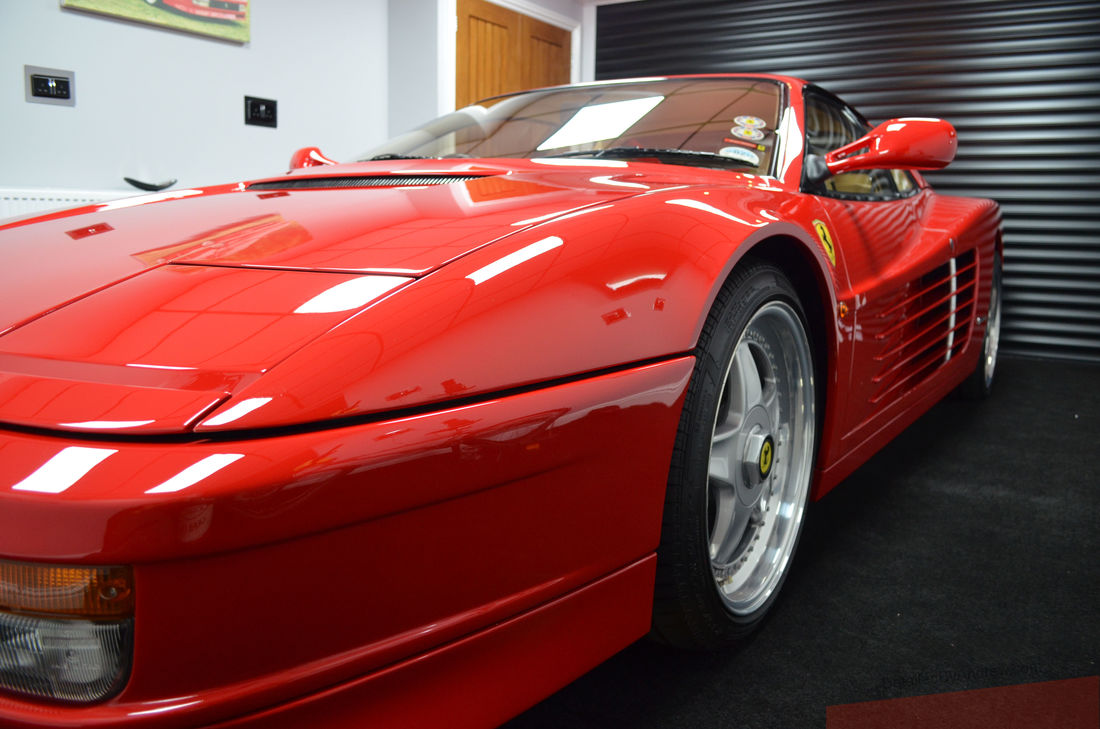
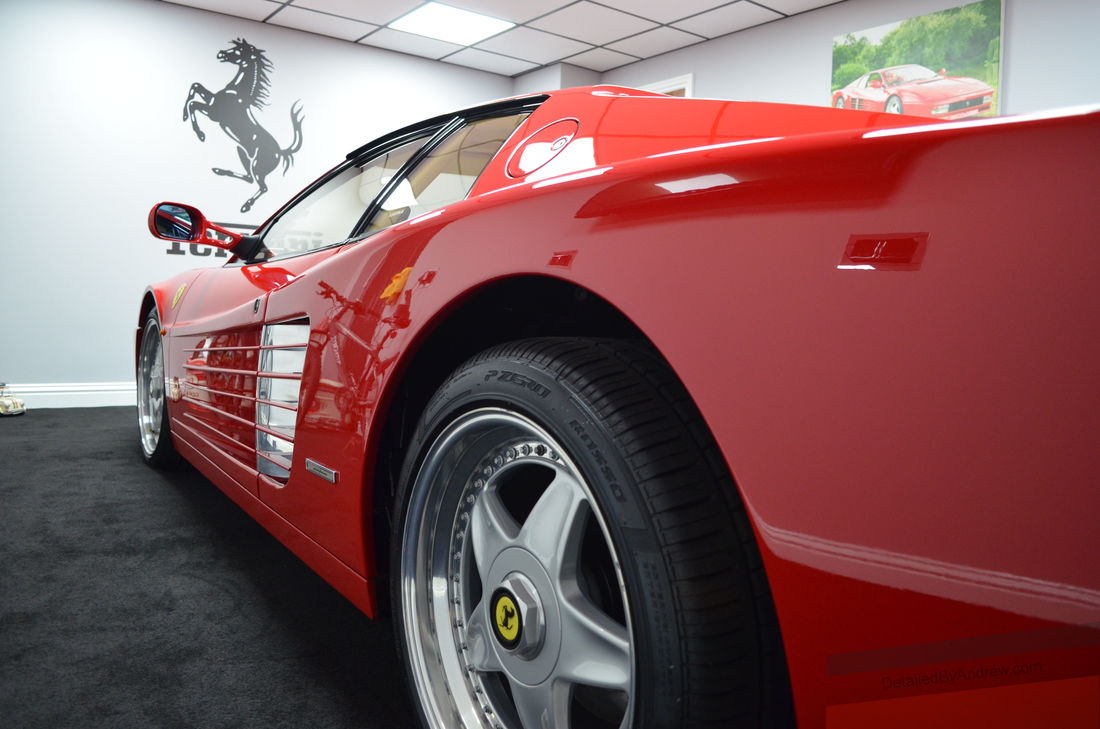
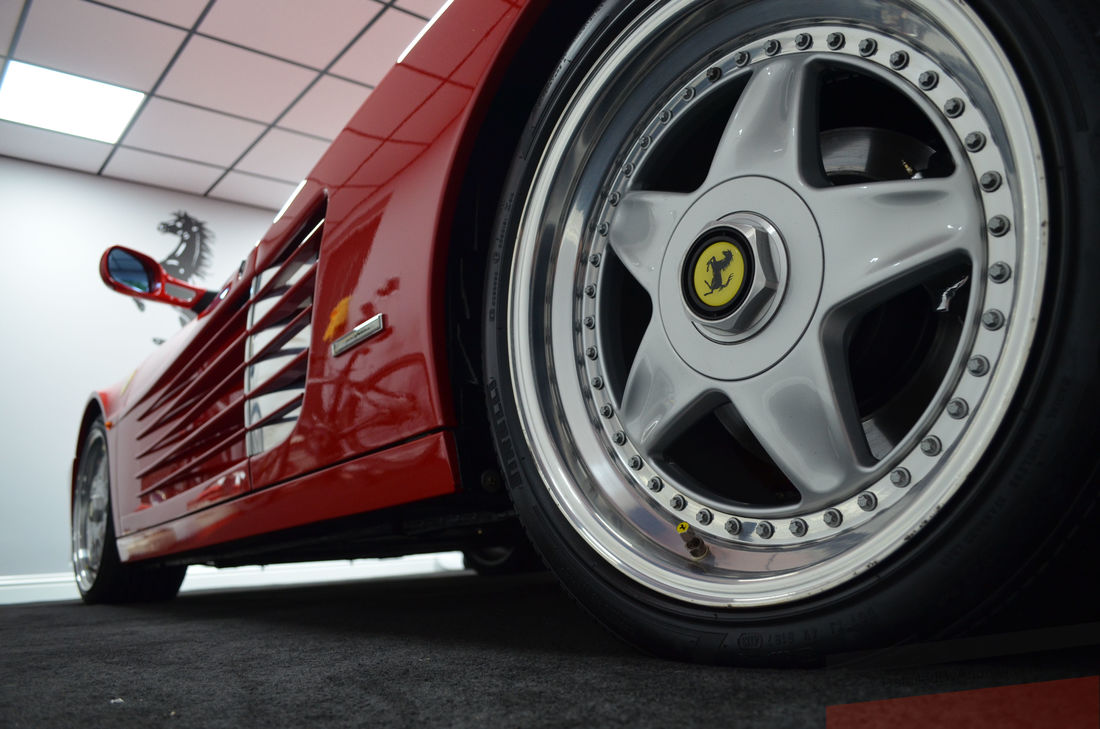
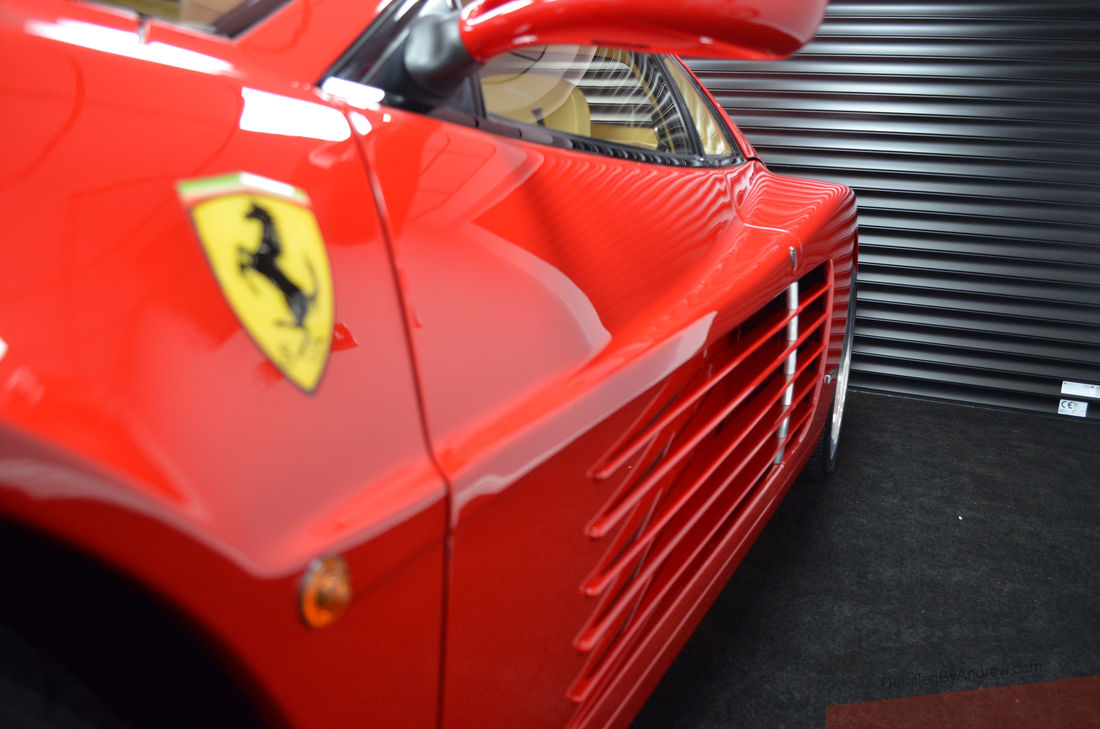
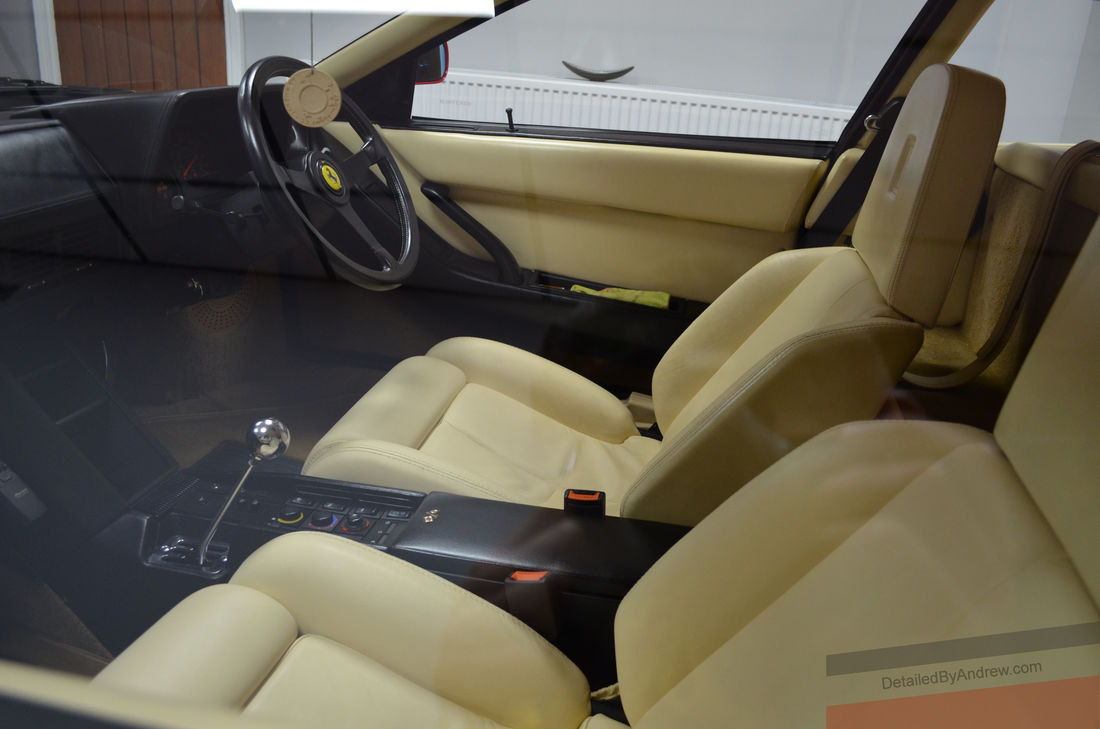
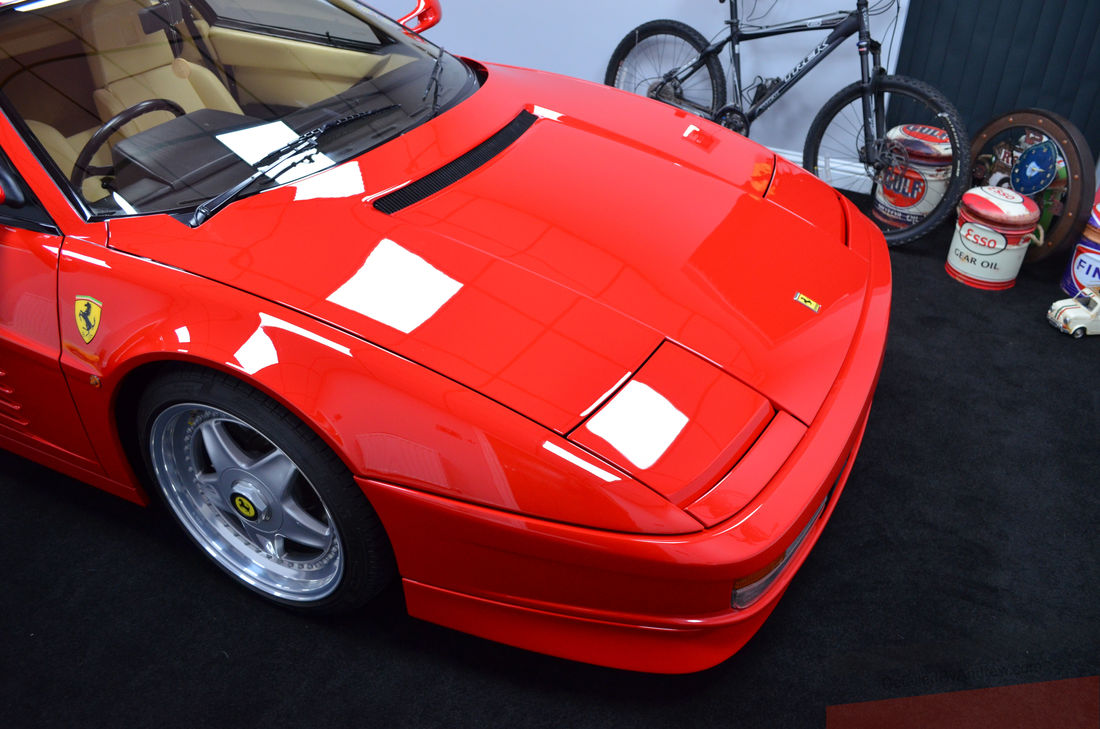
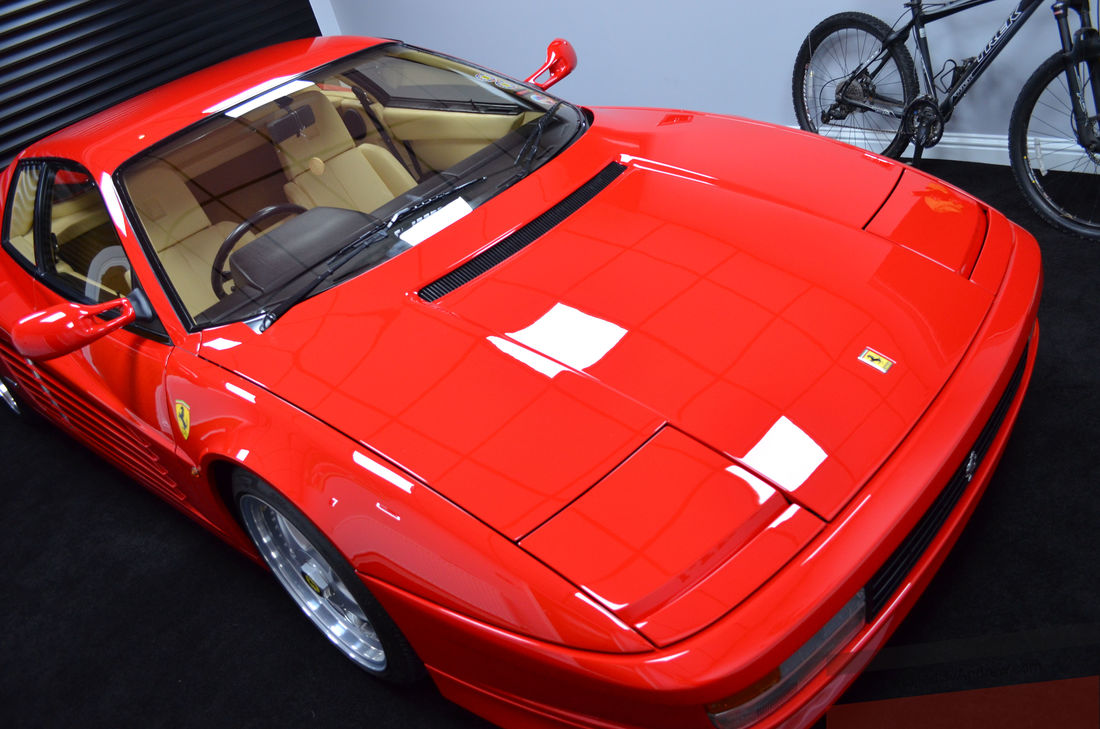
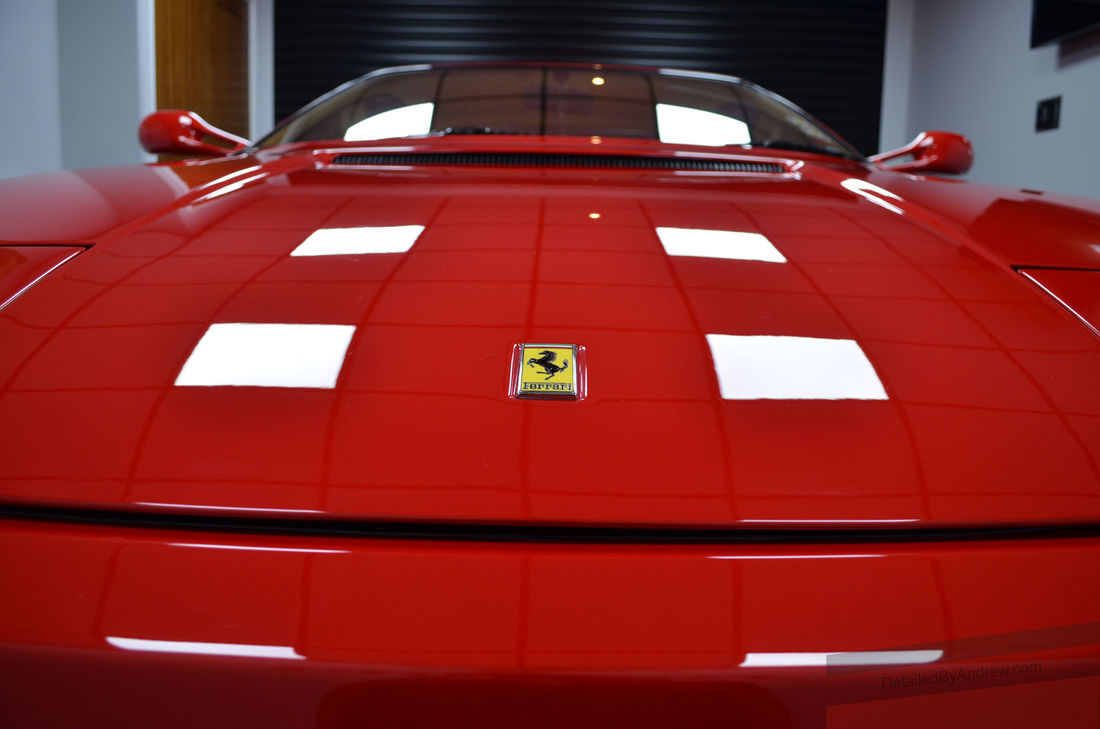
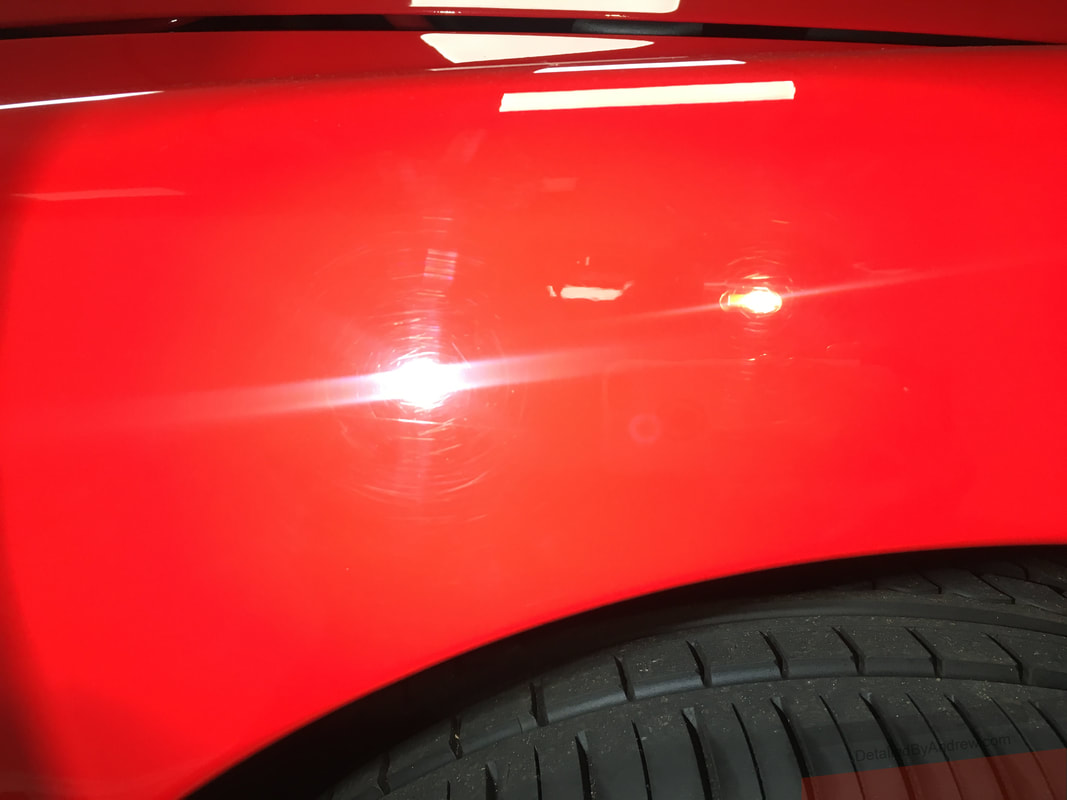
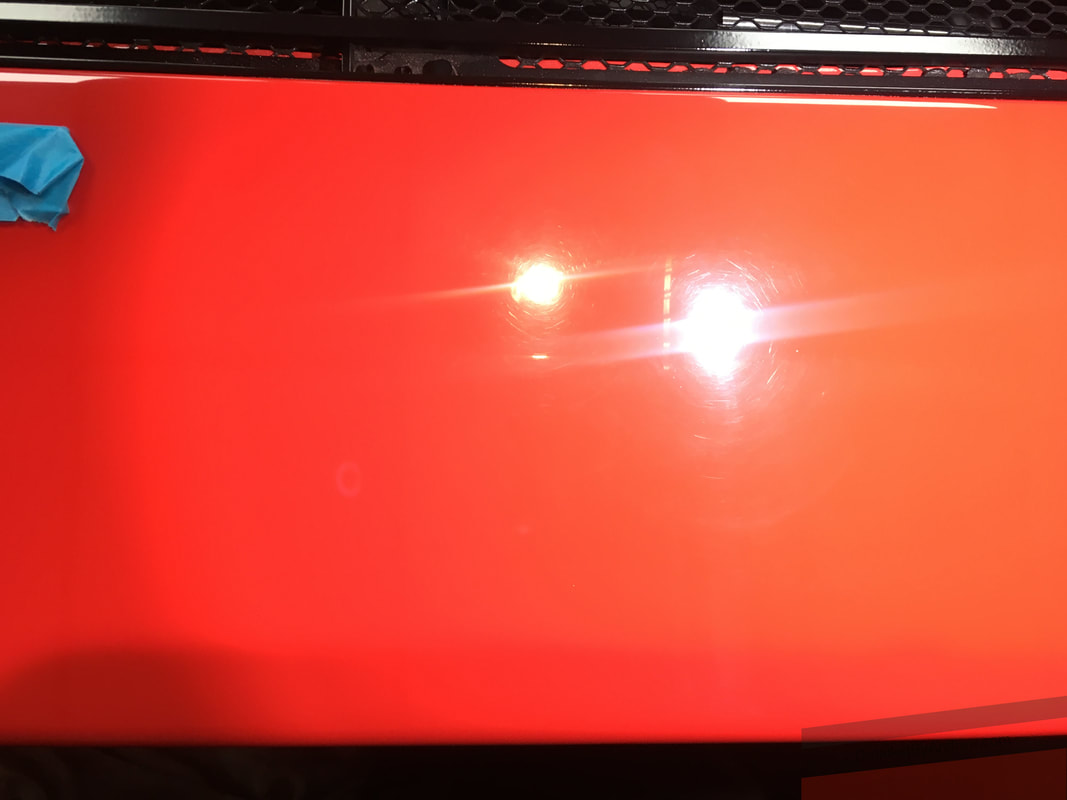
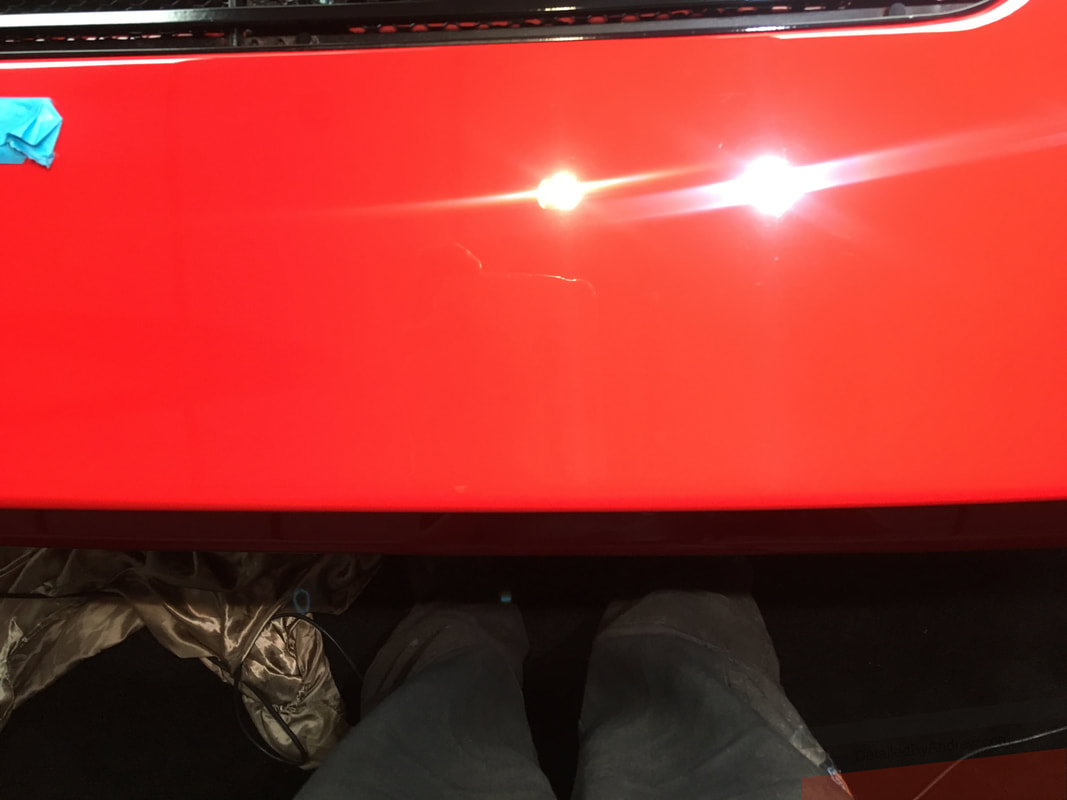
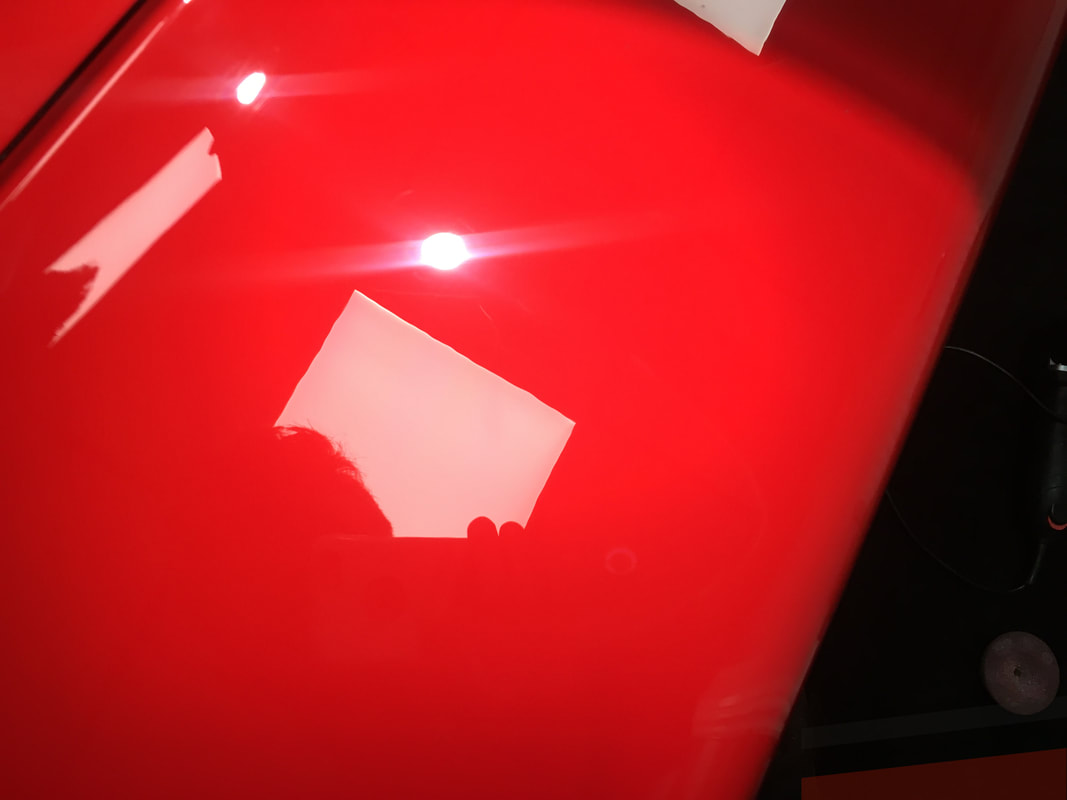
 In the words of Alex Ferguson; it's squeeky bum time. I was trusted to work on this stunning 1990 Testarossa to improve its paintwork as much as possible in one day. This is a 1990 model, with very little over 21,000 miles on the clock, and has been in the ownership of the current owner for over 18 years. If anyone knows this car back to front, it's going to be him. With no disrespect to my usual customer base, this is a very different calibre of car to what I am used to day in day out, not just in its heritage and value, but the fact that it is meticulously cared for and kept clean. In this particular instance, there was no need for the 3 or so hours of washing, decontaminating and clay barring like I have to on daily driven vehicles when carrying out a detail. This was to be a bespoke service not outlined in any set service package. Instead, the initial part of my visit was spent with the customer learning about the car and receiving valuable information on the task at hand, before he left for work to leave me to spend 1 and a half hours just studying the car. Indeed, before even contemplating touching the car, I analysed some of the defects under digital microscope, as unfortunately there were some issues to consider. In the above pictures, you can see what swirls, micro-scratches and random isolated scratches look like in magnified view. However, these were the least of my concern when the owner told me that the car had been detailed many years ago and the detailer had struck through the paint. My initial thought was, "how can it be possible to strike through single stage paint, to reveal another layer of red?" but a quick lesson in the history of the car from the owner taught me that Ferrari painted these cars in a very special manner. You see, in order to get a mirror like finish from the factory using single stage paint (that being, just colour, no clear coat like modern cars), they would apply a fine layer of colour, sand it back flat by hand, apply another fine layer of colour, sand it back by hand, and so forth ad infinitum. Put simply, there were many layers to this cake. Throw into the mix that some panels had been repainted and you have one very tricky car to level out by machine. I had to approach this carefully using initiative if I were to avoid emulating the previous detailer's mistake of striking through to another red layer of paint. So, I taken dozens of paint readings from each panel, and studied their meaning to assess how to approach each panel. Their readings were, lowest thickness to highest per panels are as follows, in microns: Roof: 121-191 Bonnet: 258-451 Offside Front Wing: 127-196 Nearside Front Wing: 127-217 Offside Door: 131-328 Nearside Door: 115-184 Offside Sill: 278-329 Nearside Sill: 309-1165 Offside Rear Quarter: 155-242 Nearside Quarter: 121-216 Boot: 175-377 It may just appear to be random number to you, but the intra-panel differences highlighted the need to be careful of the fact that these cars were hand painted and flatted down, as well as this particular car having been cut back before. The aforementioned area of strike-through was on the nearside quarter, where readings were around 120-140 microns in the damaged area. On a modern clear coated car, this would be a very healthy figure. I could literally see in numbers where readings started to increase across the panel - so I knew where I was safe to cut. The absence of a need to do heavy cleaning and prep like I have to on "normal" daily driven cars meant that I could do a two set machine polish in one day, meaning the first set being a specially selected cutting compound and pad combination, and then a refining polish and soft pad combination. The choice of machine used was also paramount. After the machine polishing process, I applied Swissvax Best of Show to the paintwork and wheels. To ceramic coat a car like this would be a little absurd in my opinion, as a permanent coating applied to such a historical document of a car would almost spoil its heritage. Cars of this ilk prove that there will always be a place for wax. There were many fiddly areas to get in and around, before the interior was treated with leather conditioner. All told, this visit taken around 11 hours of solid working time. I couldn't get the paintwork 100% blemish free, because doing so would have involved using high levels off cut too risky of causing strike-through, but I removed a moderate amount of defects, and left it with a sharp reflection. I worked as carefully and attentively as possible, no phone calls were answered this day as I needed maximum concentration without distraction; if I damaged this car I just don't think my confidence would have ever recovered. Also, it was encouraging to be so trusted to do this work, without being watched over, checked upon or otherwise - this enabled me to relax and focus. The time absolutely flown by, in fact I lost track of time. It's a another milestone and privilege for me to have this car in my portfolio. But there is one thing I would like to address before people jump to conclusion and spread rumours that I only work on high-spec cars - I am not above working on any car, in fact, my next job may well be a clapped out old Transit van. I stay humble, you keep yourself factual! Enjoy the pictures below!
7 Comments
Terry
19/8/2017 08:12:20 pm
I cannot think of anyone I would trust to do this sort of job, other than Andrew. 4/12/2019 11:40:23 pm
Cars are one of the hobbies that I have, and this is one of the biggest part of it. I really want to one a car that is as good as this one. Of course, I do not really have the means to buy me something this expensive, but I am hoping that it changes in the future. I plan on doing something that can help me earn more. I really want to have this kind of car at my disposal.
30/3/2024 08:31:04 pm
From initial consultation to final installation, they strive to exceed your expectations and create lasting impressions. When you choose professional carpenters, you're choosing peace of mind. 30/3/2024 08:50:51 pm
Facilitating proactive decision-making energy management systems are not only instrumental in optimizing operational efficiency and cost savings but also in promoting sustainable development and resilience in the face of climate change. 30/3/2024 09:15:51 pm
The standardized 54-inch lace length for Converse high tops serves as a versatile foundation for wearers to express their unique style while ensuring the sneakers function as intended. This lace length accommodates the high top design. 30/3/2024 09:58:30 pm
Additionally, practice crop rotation and companion planting to confuse and deter pests while promoting biodiversity. Regularly inspect plants for signs of pest damage and manually remove pests when feasible. Leave a Reply. |
AuthorAndrew Southall, just a guy obsessed with shining up cars. Archives
March 2021
Categories |


 RSS Feed