|
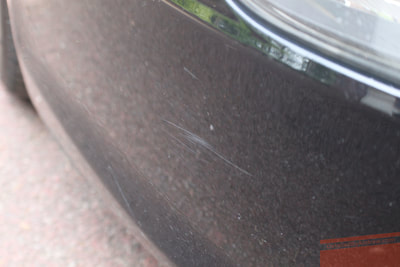
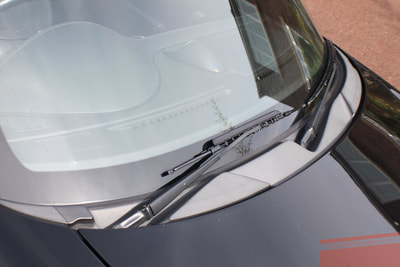
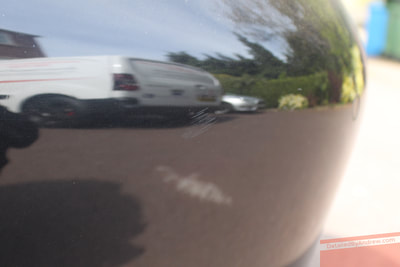
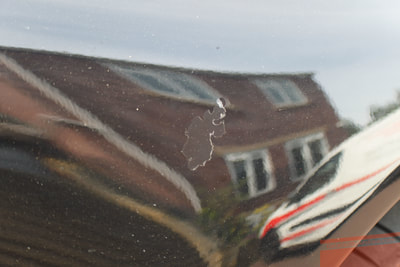
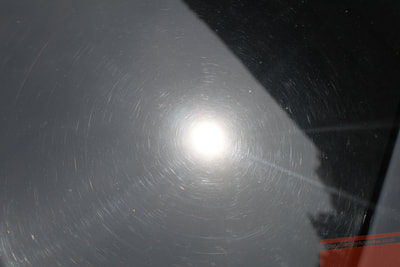
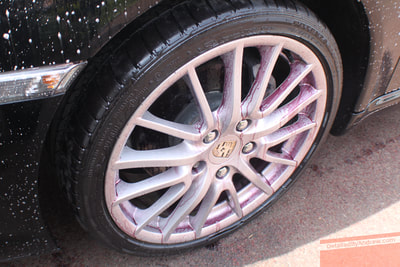
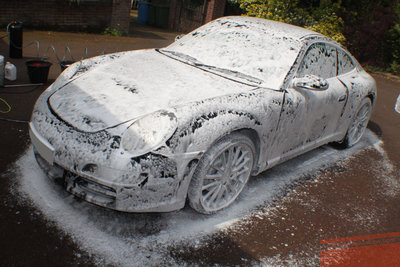
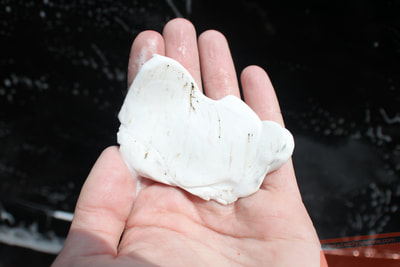
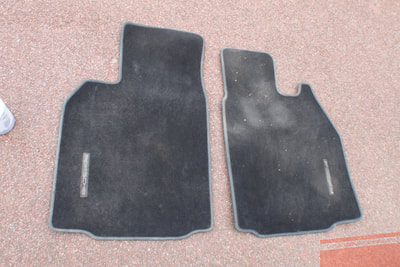
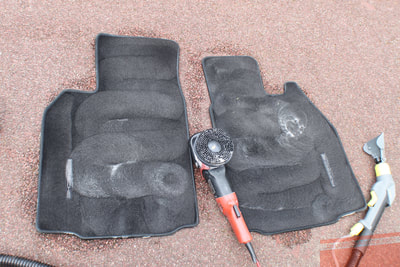
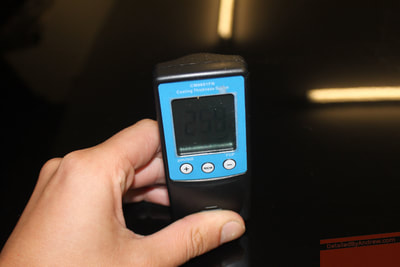
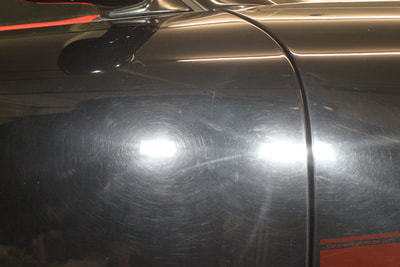
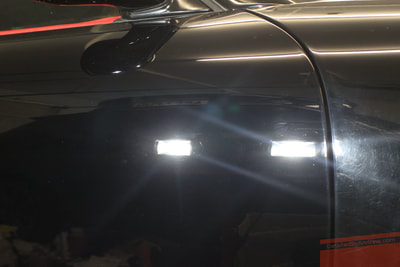
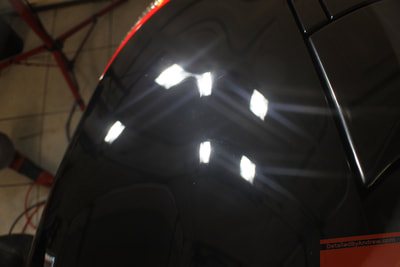
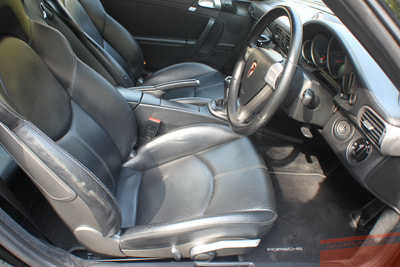
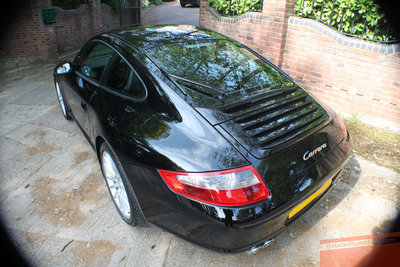
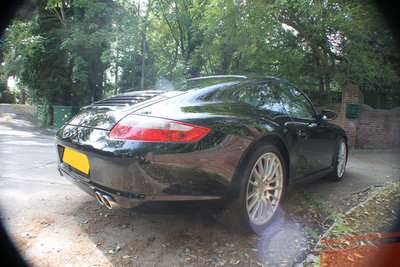
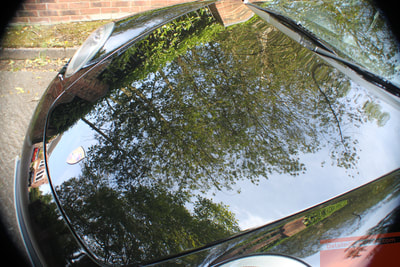
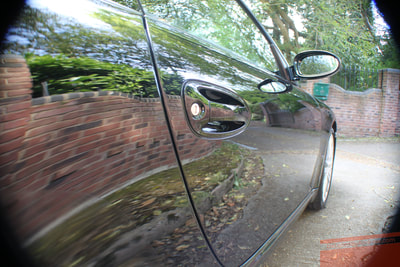
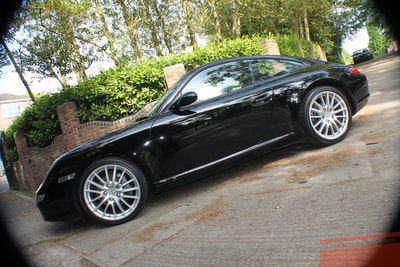
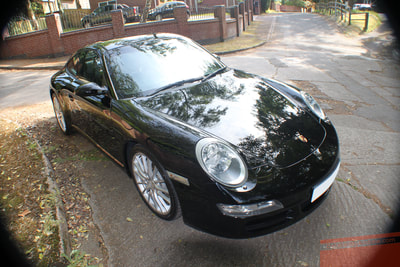
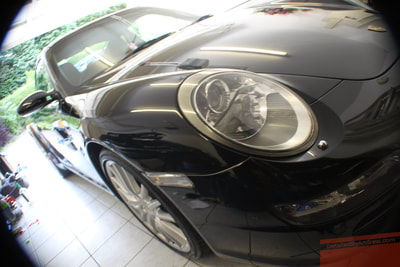
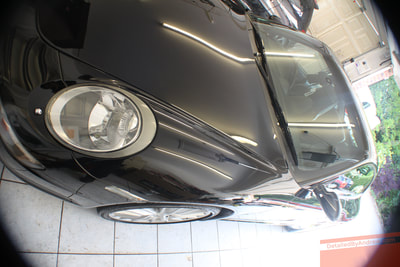
Looking back through these blog posts I realise that it has been quite a long time since I made a case study here. You might say that I have been rather busy and have put the blog to the back of my mind, or as this case may be, waiting for something just that extra bit involved to give me a muse to write plenty about. Facebook and social media are fantastic tools for quickly posting what you have been up to, in order to show the world and your followers what it is you can do for them. In this case however, I have taken to the blog because there is much more that I need to get across than is possible on a simple status update. A Correction Detail in its nature, as far as my business and I are concerned, is working with the customer to outline their exact requirements and work with them to suit to their budget (within all realistic reason of course, this kind of work isn't exactly feasible for £1.52 pocket change and a packet of haribo) and meet their expectations. For this reason, every Correction Detail I take on requires a "consultation sur mesure", or a "can you come and have a look at it" in English. This is immediately obvious where paintwork enhancement and correction is concerned, in the nature that no two cars are the same, even though they be the same age and make/model, and also in the way that this is a very personal service; what may make one person happy may not be enough for somebody else. For this reason, it is imperative that a professional detailer knows how to weigh up how many hours/days may be required to meet that customers' expectations. The most important thing is working safely within the paint-work's clear coat parameters. The process of removing swirl marks, fading, oxidation and other deteriorations by the method of compound polishing via machine is to actually remove paint after all. We are only talking a mere few microns here, but that knowledge of what one is taking on, and getting to know the vehicle before making any inklings of starting these elaborate works is absolutely vital. In this case, on inspection, I found that much of the car had been previously resprayed. Which some may say, is not uncommon for a 911! Right, onto the day of the job being started. First things first is to look around the car again and have a final chat with the customer. The reason why is because things change, and also having a busy diary with many customers, I will have slept since the consultation! So it is always best to take in everything that is about to be worked on, and have clear communication with the customer. As with these images above, there were many issues to be sorted. These ranged from blobs of old touch up paint to minor scuffs, faded plastic trim, swirl marks, faded porous paint, and something that had happened since my inspection - a flaking patch of paint from where a stone had jumped off the road and said hello. This being a repainted panel happened because of new paint being layered on top of old paint, and probably not being keyed down enough by the re-sprayers. When this happens, and paint starts to lift, this is what is called delamination. Later on throughout the work, I found that the minor scuffs were satisfactorily reduced with the machine compounding process, and even though it would take a full panel respray to resolve the missing patch of paint, this was filled in with touch up paint, wet sanded and polished not really for cosmetic benefit but to buy the customer that extra bit of time and protection. Before tackling these issues, the vehicle needs to be thoroughly decontaminated of road grime, iron fallout (little particles of rust that are present in the air from brake dust and industrial production), tar spots and anything that is sitting above the paintwork holding it back from being "clean". The industry standard process is to pre-rinse the vehicle of loose dirt, carry out a safe wash using snow foam, a merino wool wash mitt and the two bucket wash method, and apply treatments to diminish the tar spots and iron fallout before clay barring the surfaces to exfoliate any remaining impurities. From here, a focused and painstaking process of carefully shaving off the old touch up paint with a de-nibbing tool taken place, with any exposed chips to be touched back in later on. This leads me to another point of the importance of an inspection, is that I could ensure that a batch of touch up paint specifically matched to this vehicles' paint code would be on hand for the task ahead in advance. Drying the vehicle highlighting how porous the paint was. It was evident that this vehicle, despite being quite clean, was rather de-hydrated and needed bringing back to life. From here, the floor mats were deep cleaned by way of using the Karcher Puzzi spray nozzle to apply Koch Chemie Green Star, allow to soak in order to saponify the dirt, before agitating with a brush attatchment on one of my polishing tools (see, not just for working paint!) and using the extraction function to pull out all of the residue. The effect was most pronounced on the Porsche emblems that were previously a muddy brown rather than their intended colour stitch. Once indoors with the inspection lamps on, we can see just how bad the paint condition was. What you see here is years of improper wash technique - and although well-meaning - constant dry-wiping at paint, as well as UV damage. This level of Correction Detail as outlined with the customer on initial inspection was to include a two stage machine compounding polish. This is very different to the Enhancement Detail in the way that the polishing process is broken up into two or more stages or steps rather than one. The Enhancement Detail is essentially a cut down, one-size-fits-all version of the Correction Detail where I do as much as I reasonably can in one day to improve, or enhance, a vehicles' paintwork condition. This Correction Detail however, is to cut as many defects out of the paint in the first stage, and then refine down to a high gloss finish in the second stage. This is truly bespoke in its nature and I cannot stress enough the importance of assessing a vehicle, and it's owners expectations. Adding more and more stages to the compounding, or even taking on the risk of wet sanding the entire body work carries not only a substantial difference in the amount of time taken (going from 2 days to however many more) but also risk. After restoring the faded headlights, putting so, so many hours of machine polishing work into the paint (a whole day in itself, including the door shuts) and general tidying up, the paintwork was treated to a ceramic coating, and the glass was protected with Angelwax H2GO.
As you may be able to tell, there is no way I can even hope to quote these kinds of works over the phone; they are truly unique in each and every case. All told, around about 22 hands-on working hours were put into this vehicle. All 5 of my polishing machines were used; those including the Flex VRG, Flex PE14-2 Rotary, Flex Mini Rotary, Flex XFE, and the Vertool 12e 3-inch DA. The most nerve wracking part? Waiting for the approval from the owner once finished! If this service is of interest to you, please see the Correction Detail service page, and feel free to get in touch at: e: [email protected] p: 07804 604532 f: Detailed By Andrew Thank you for reading, and I hope you enjoyed the pictures!
8 Comments
|
AuthorAndrew Southall, just a guy obsessed with shining up cars. Archives
March 2021
Categories |



 RSS Feed