|
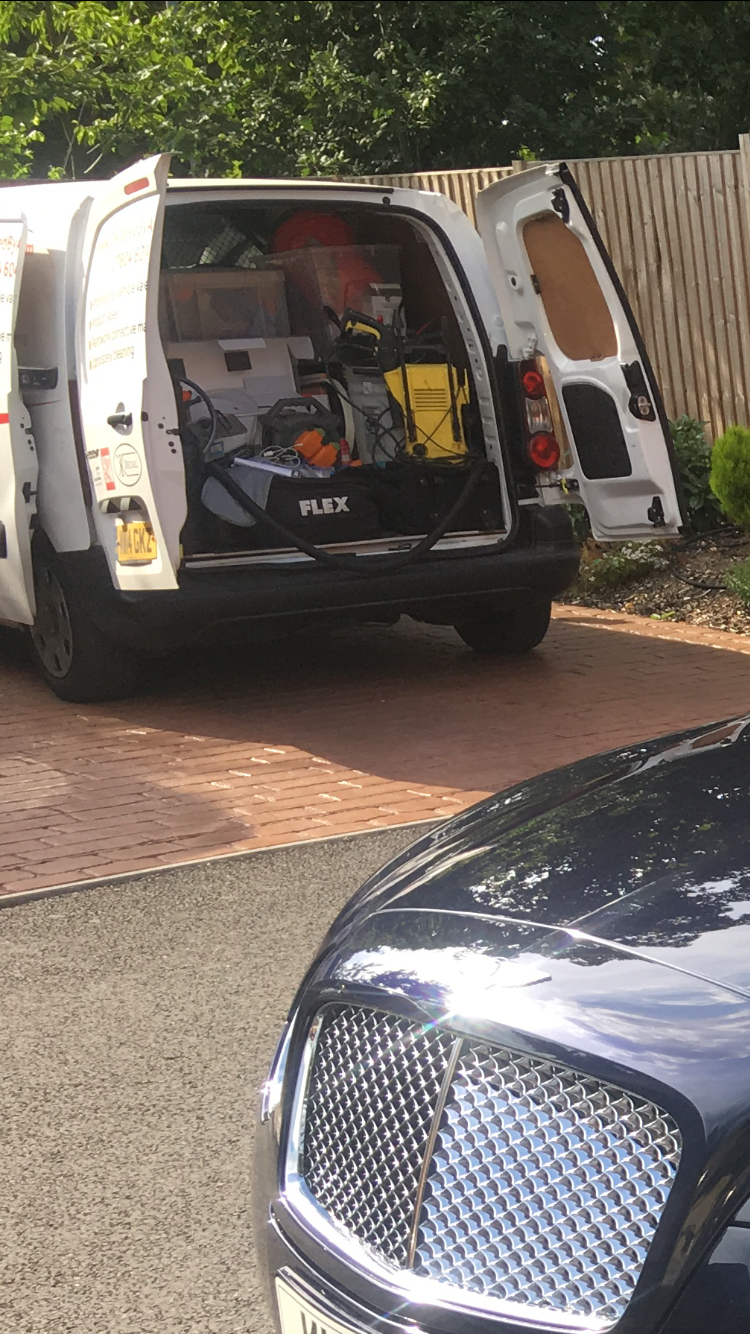
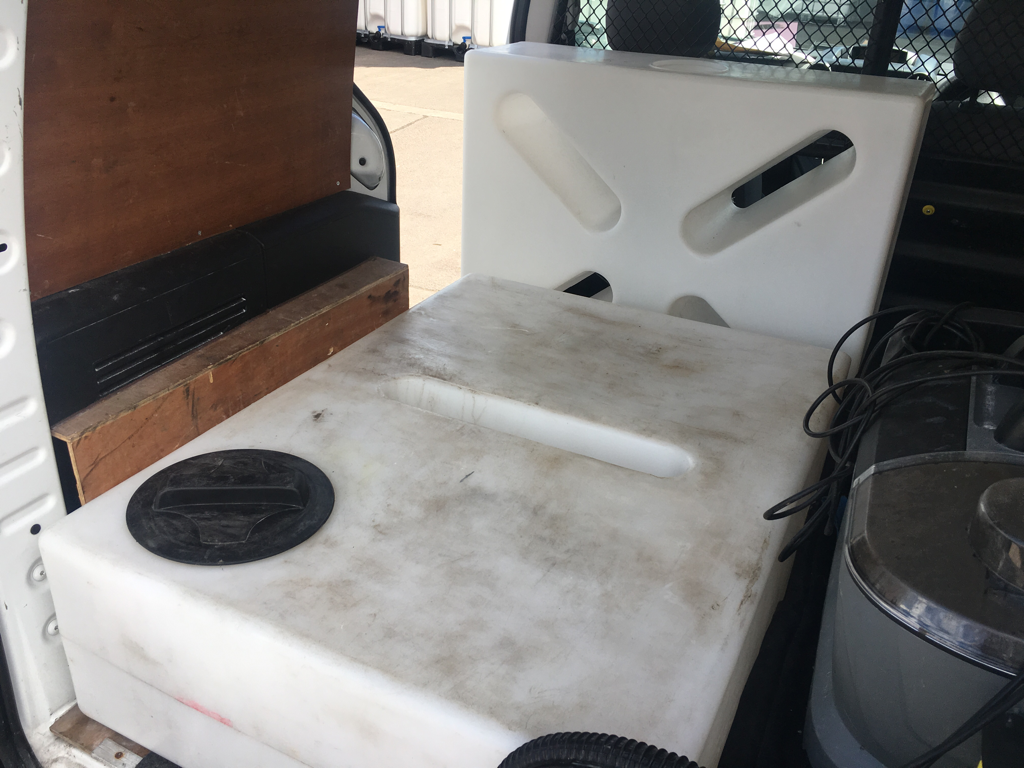
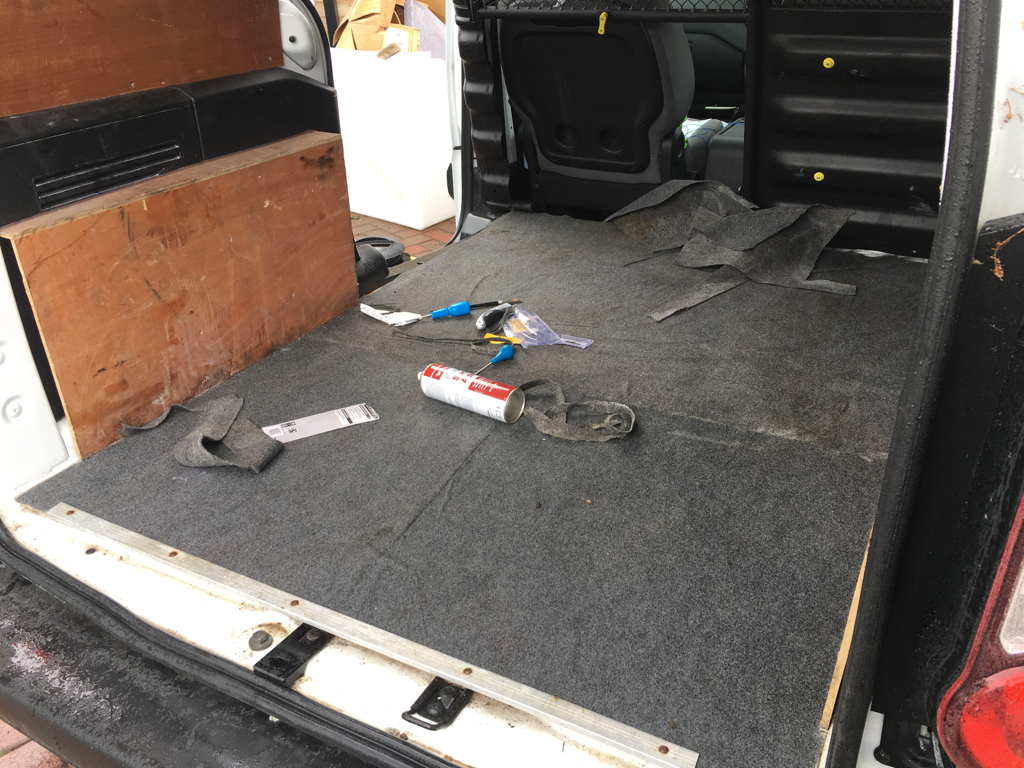
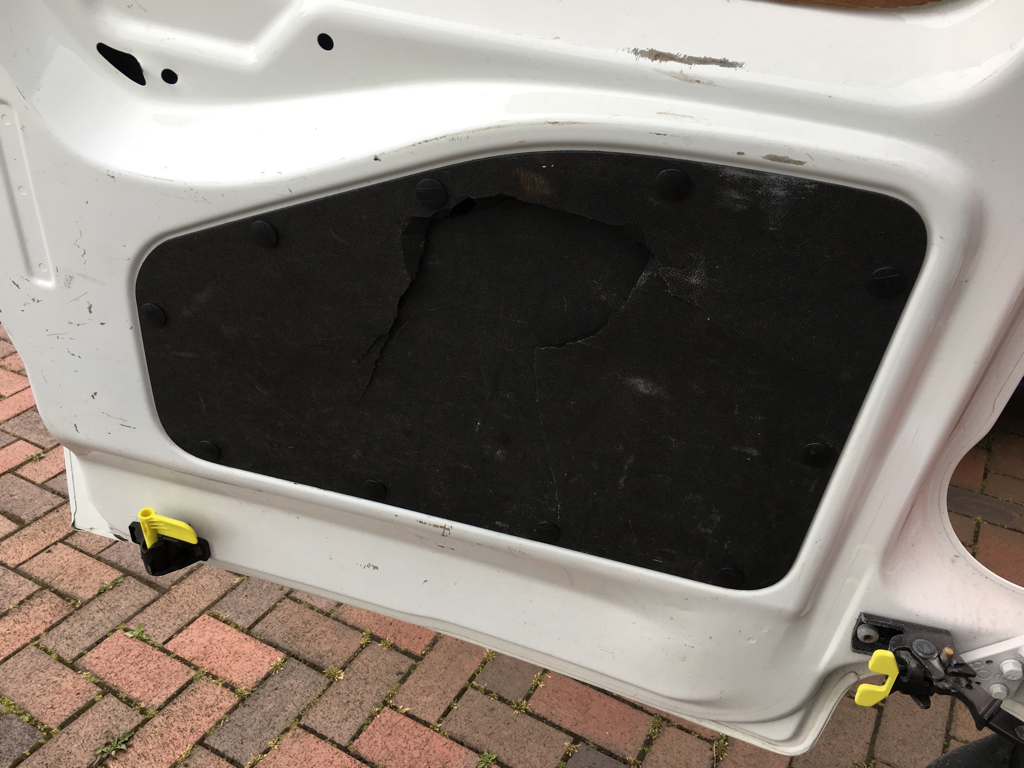
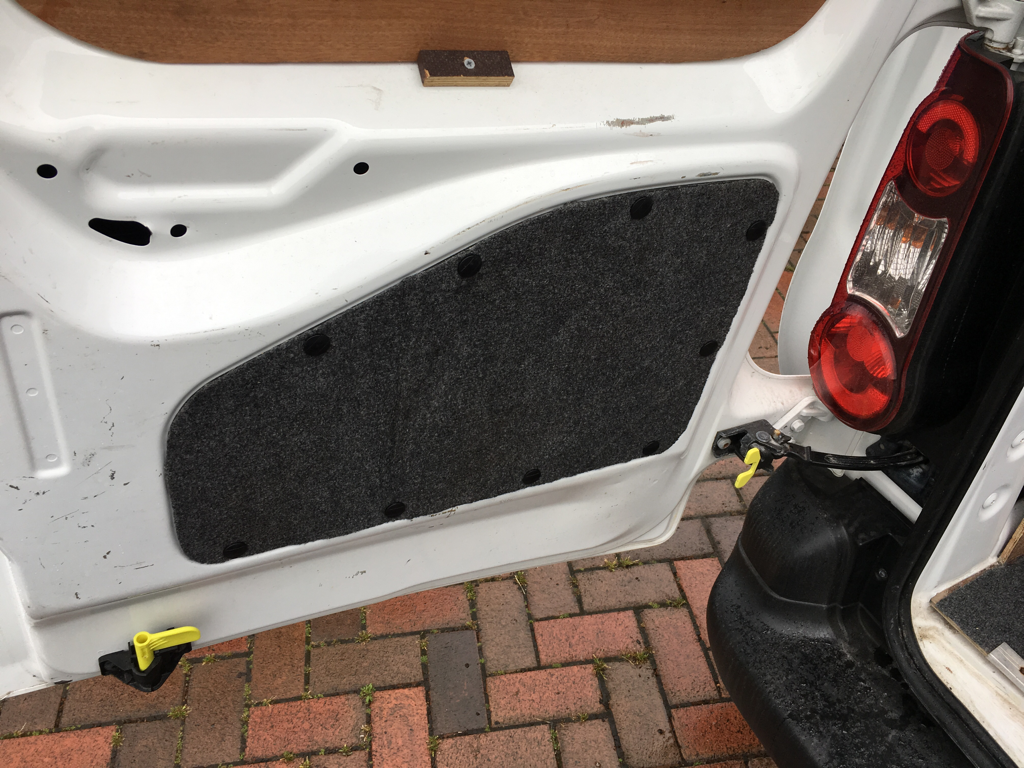
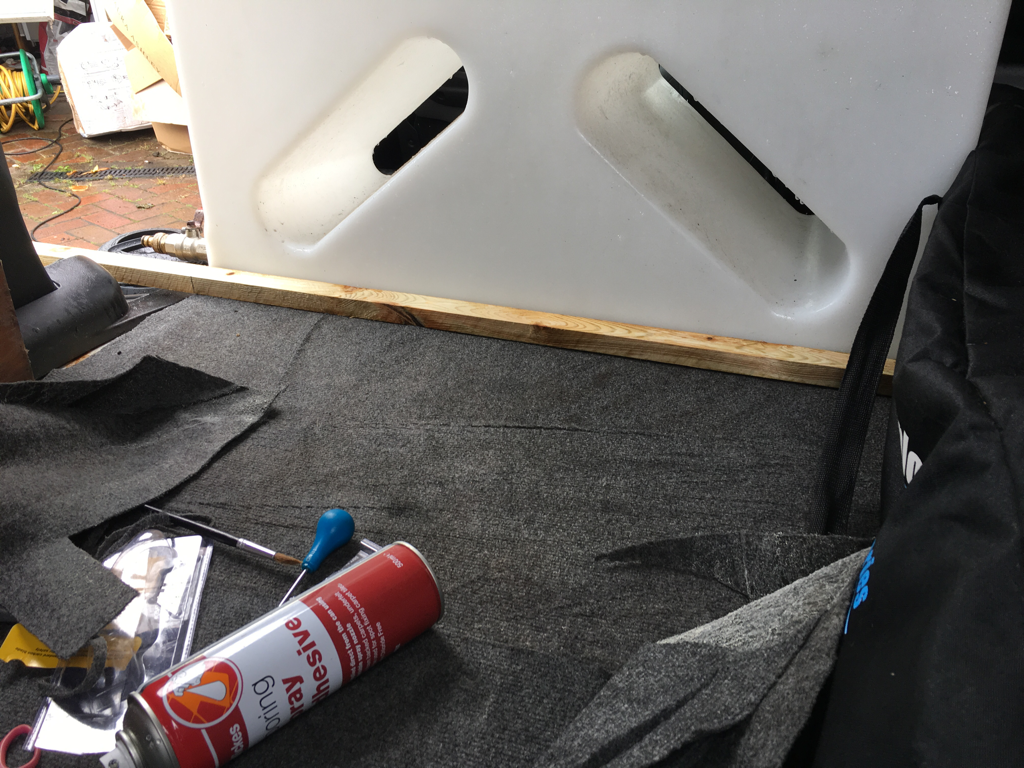
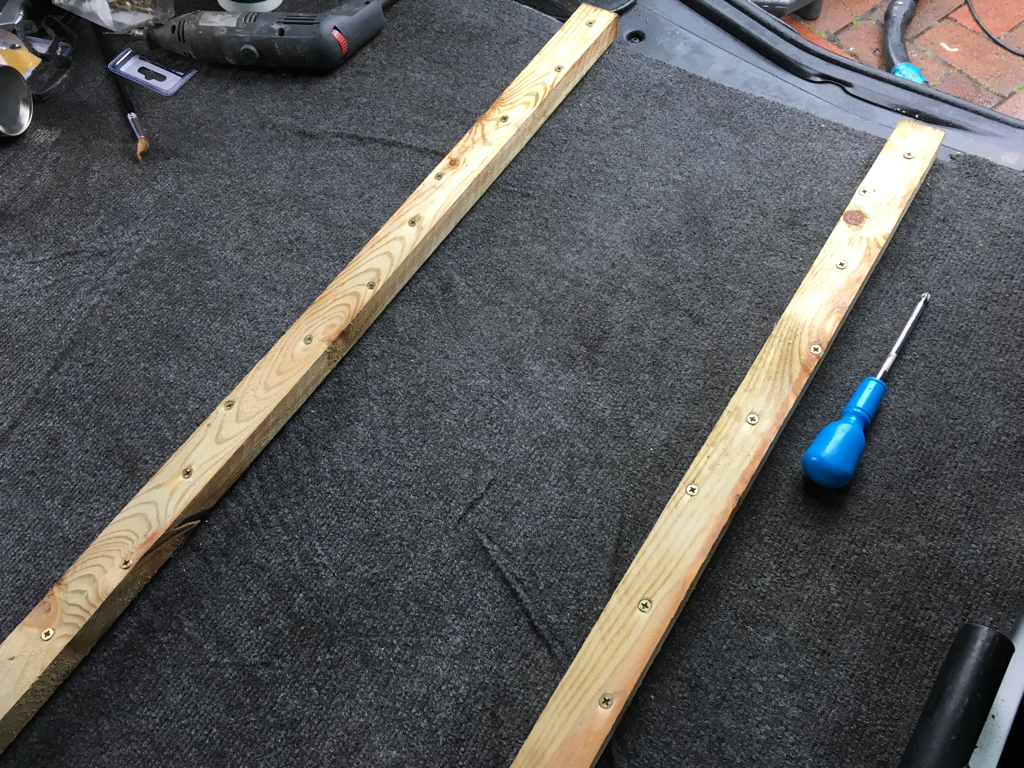
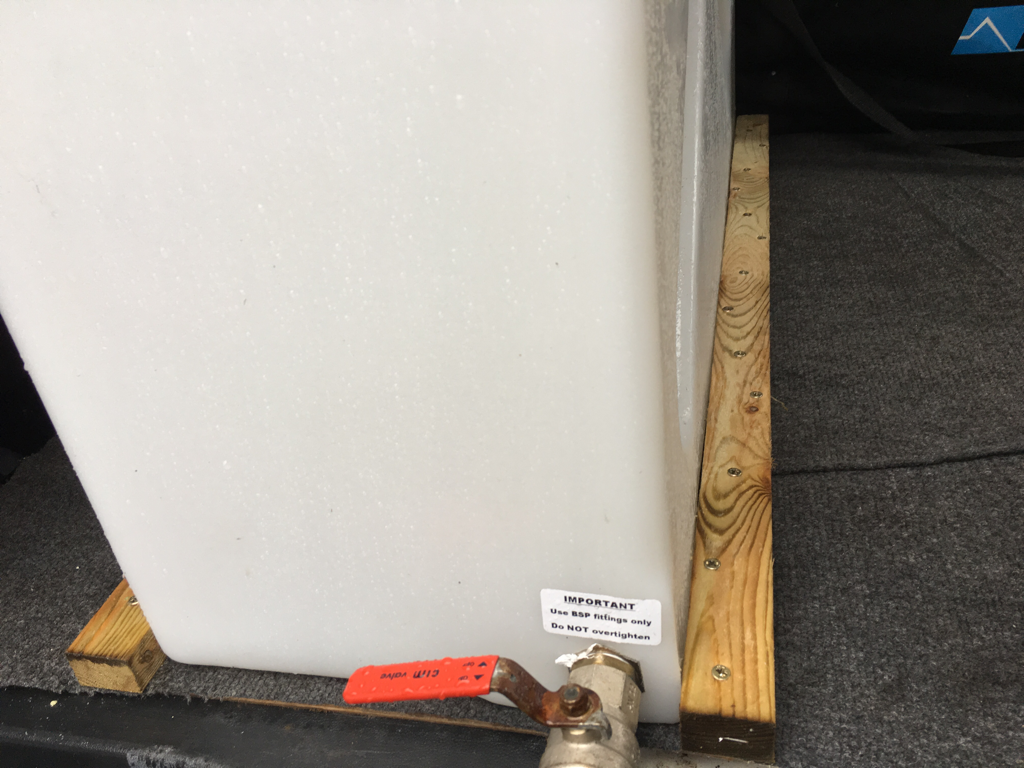
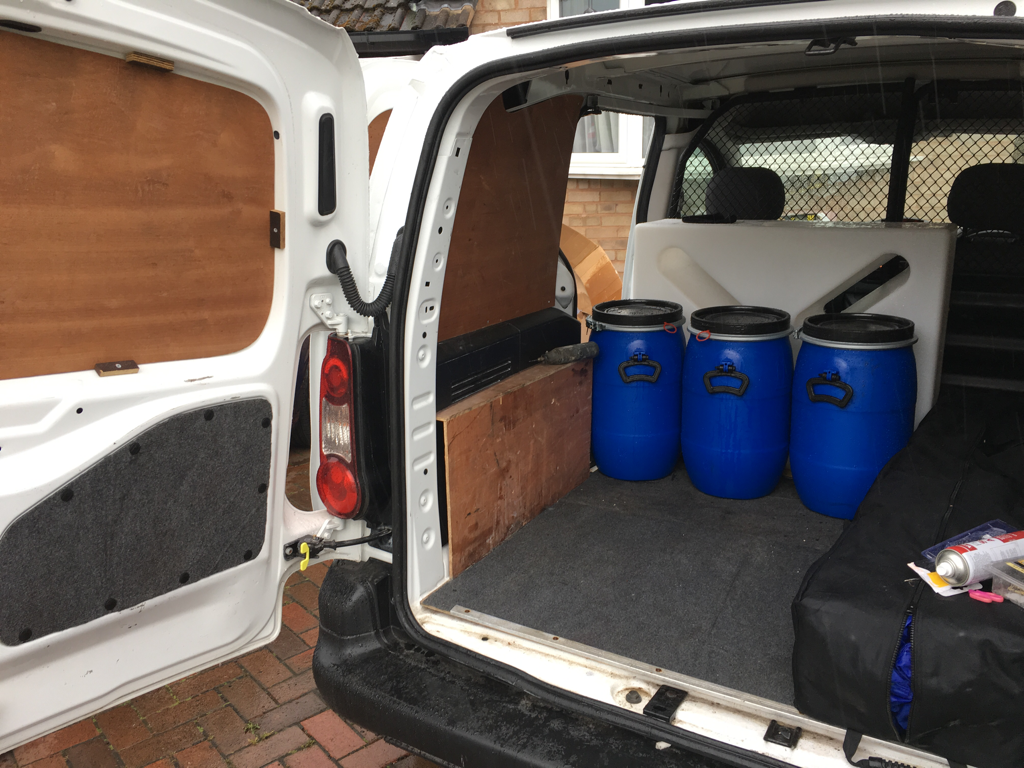
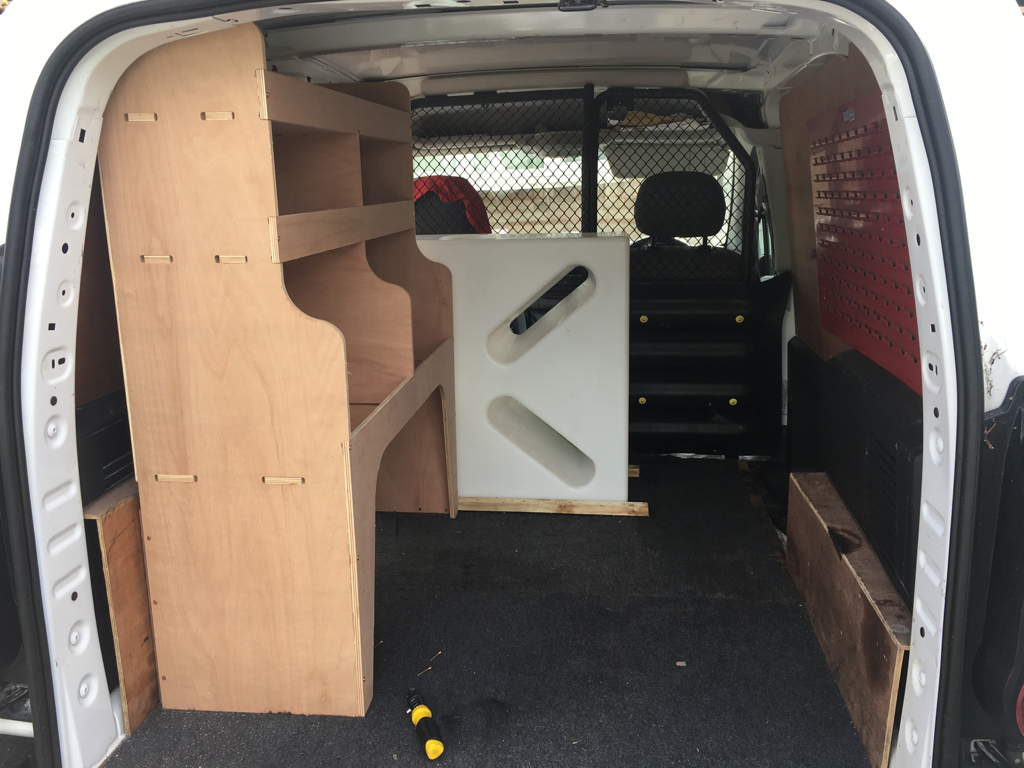
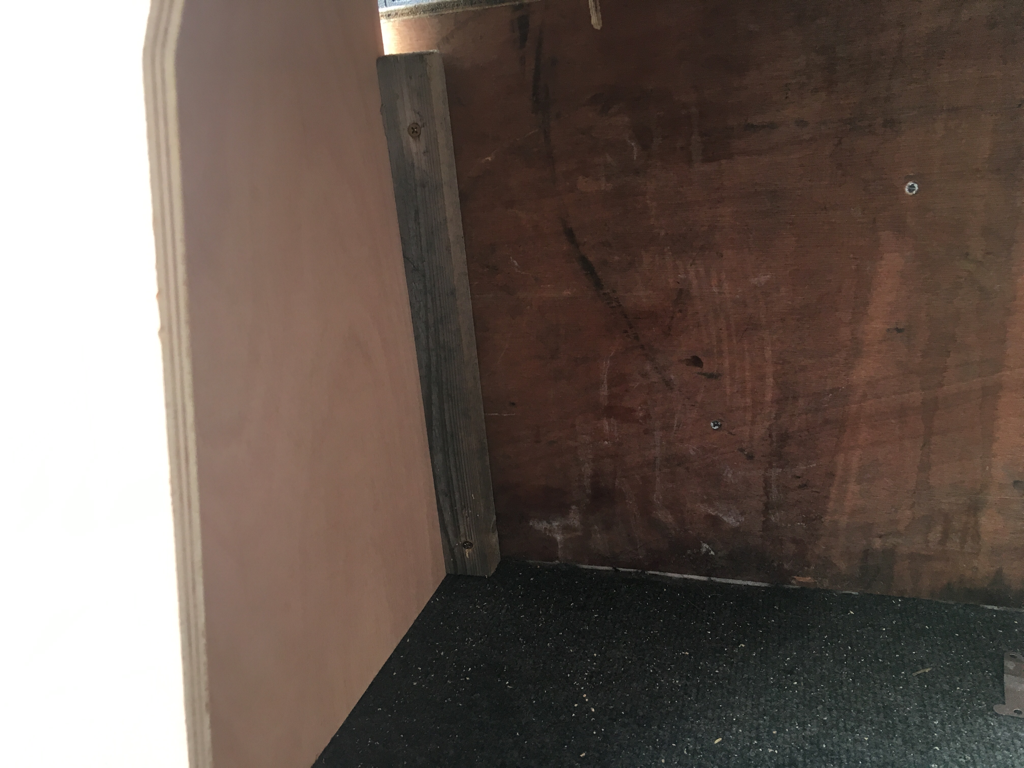
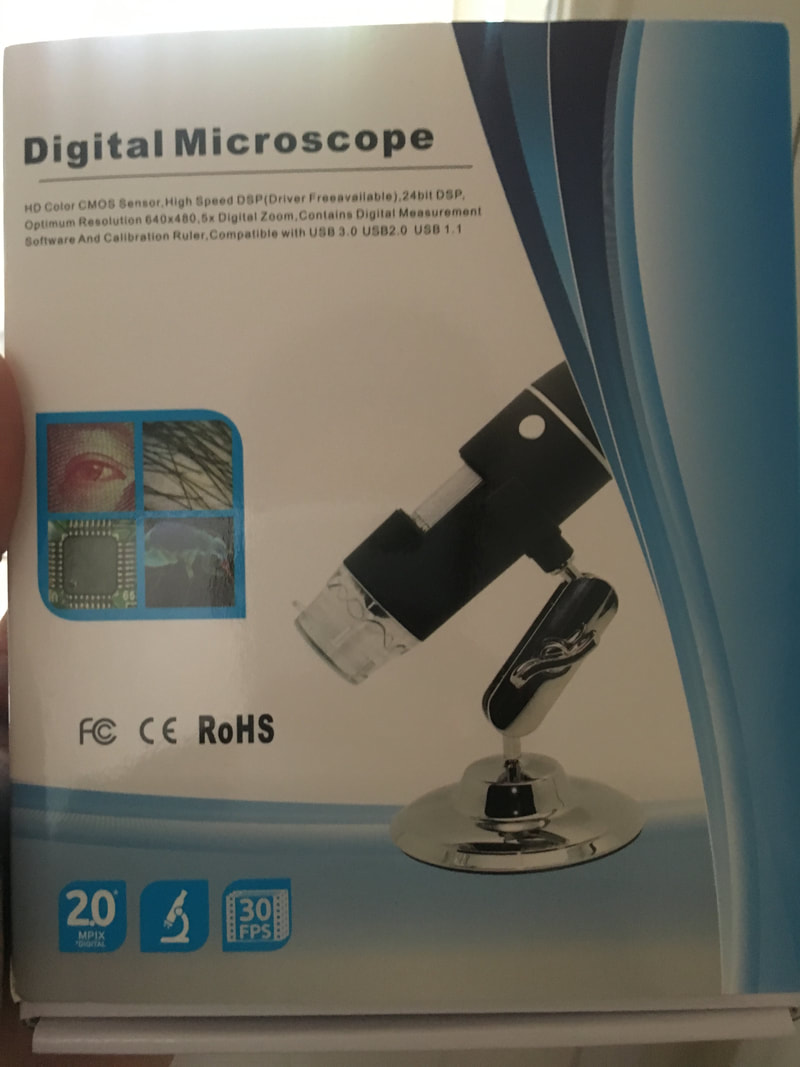
Van Renovations. If you've been following the blog up to now, you'll notice I am always talking about finding new ways to work more efficiently. After all, what is the point in having a top quality inventory if you are wasting precious minutes on every job setting up and packing away, or trying to find that one little tool that you knew was somewhere in the van? In the background of this picture of the Bentley Continental I carried out a Gloss Boost on last month, a glimpse of what I was operating from can be witnessed. When a professional books their diary to full capacity and beyond, finding downtime to organise everything can prove difficult, and if your set up is pretty lousy in the first place, it can soon spiral out of control. I decided enough was enough. This is supposed to be Detailed By Andrew, not Detailed By Albert Steptoe. Having spoken online to my friend Mat over at Valet South East I gained ideas and inspiration from how he had his similarly sized van set up. The Peugeot Partner has moderate space but it isn't exactly a Transit Connect so making the best use of cargo room was the plan. The first step was identifying what was taking up the most unnecessary space, and this was the 250 litre lay flat water tank. Everything else was having to be stacked on top of this, making access difficult and organisation scant. A trip down to Smiths of the Dean saw me purchase a new upright 150 litre tank, and three 30 litre drums which will serve as my new buckets as they have super duper seals on them. This, again, lends to less setting up on the job as the buckets can be filled at home and transported with little fear of them spilling. On top of being able to double up as corner weights for my gazebo, they also have doubled sided handles meaning both of my arms will be used to lift and carry them. I anticipate to look like Popeye in no time at all! What with these changes, I am still only 10 litres of water down against my old set up, with much less space taken. Here is the old 250 litre tank compared to the new one. The next step was to get everything out the van, and give it a good vacuum and dust down so that the floor was clean enough to have carpet stuck down to it. I will emphasise that everything about this van renovation had to be done on a budget, mostly using things already available in my possession, and done by myself. Hiring a professional van fitter or overspending would cut down on available money to spend on more important things such as tools and consumables, after all. Over a year ago I was kindly donated a sheet of grey carpet by a customer, which up until this point has just been thrown down underneath everything. This was given a good brushing down before being cut in half to fit, and glued down to the entire floor. I needed to wait for the glue to dry fully before giving the carpet a good shampooing. The metal slat was refitted at the back of the van for a flush finish; if my handy work could be described as so. The more eagled-eyed reader may notice the rusty bolts; these will be replaced at some point and everything will be polished up. Pre-existing creases in the fabric made it nearly impossible to fit perfectly flat; these were indeed stretched so not a case of poor workmanship, even though I am not the best DIY'er. Being as most of the floor plan will be covered with equipment I didn't really mind. As long as it looks presentable to onlookers that is all that counts. One thing that always bugged me since I first bought the van, is that one of the rear plastic cards had been smashed through. My little van used to belong to Europcar as a hire vehicle, so I expected the odd mark here and there caused by those without integrity. I used offcuts of fabric to patch it up together again. It's not perfect, but it has personal pride attached. Getting the new tank to sit by the bulkhead in a secure fashion with minimal movement saw me measure a slat of wood to size and position the two pieces infront and behind the tank, using a drill to make pilot holes and screwing down in alternating positions to give a little extra strength. The top of the tank will be secured to the bulk head with a ratchet strap. These wooden slats will at some point need painting or covering so that the wood doesn't rot with the inevitable exposure to rain. However, the end of the day was drawing in and the weather was getting worse, so it was time to start packing away and make do until the next available downtime to continue. Using a total of nine plastic boxes to store all of my products and microfibre cloths was proving to be time consuming and arduous pulling all of it out the van setting up at the customer's location, and packing away at the end. Three of these were filled with 5 litre sized containers of concentrated products, with even more of these behemoths floating around in the van. Did I really need to be carrying fifteen to twenty of these sized bottles? The plan was to find a layout that enabled me to decant these products into 1 litre bottles, and then store all of my spray bottles somewhere easy to access and maintain in the van, where they could be diluted into and filled up at ease. After consideration and research I opted for a nearside shelving unit from Demar Van. Being pre-designed and flat-packed for user assembly saved me on blueprinting one from scratch, and because I am not by any means a 'chippy' this prevented any of my attempts to make my own being dead on arrival. Everything now has a proper home, instead of falling around the place in the old ways. An old piece of wood was used as a support block to secure to the plywood wall of the van, and a couple of angle brackets were sourced to further afix onto the floor. Nothing is ever finished, and there is always more to do. In the future I may fit a false floor across the back to make for extra room if I need it. I've also been advised about a "keep warm" heater for the winter time, a device used by lorry drivers to stop their cabins getting too cold overnight. Internal insulation wouldn't go amiss either. Always planning ahead, I am now preparing to find ways to stop my fingers freezing to the bone in a mere couple of months' time... New Gadget My latest little toy is a digital microscope to use with my laptop. You may wonder why I would need one, but it is going to be an invaluable tool going forward in terms of defect identification and customer management. As word goes around about what I do, I am always being asked about scratches. "Can you come round and have a look at this key scratch?". Indeed, I have in the past spent time making house visits just to look at scratches in cars' paint caused by a key. Where a key scratch is involved, I always know that it will be too deep to rectify with wet-sanding and polishing before I even get there, but it would be rude to say no to these requests. I don't mind calling out to help local people, but the problem for me starts when some react very insensitively to my verdict. "Here he is, the barer of bad news!" and "oh look, the car valeter that cor even get rid of a scratch!" are just a couple of tongue in cheek taunts I have received on the following encounter with the people whom I given my time to, free of charge. Below I have made a rough diagram of a cut-through vision of a typical modern paint system that exists on a car, this basically consists of:
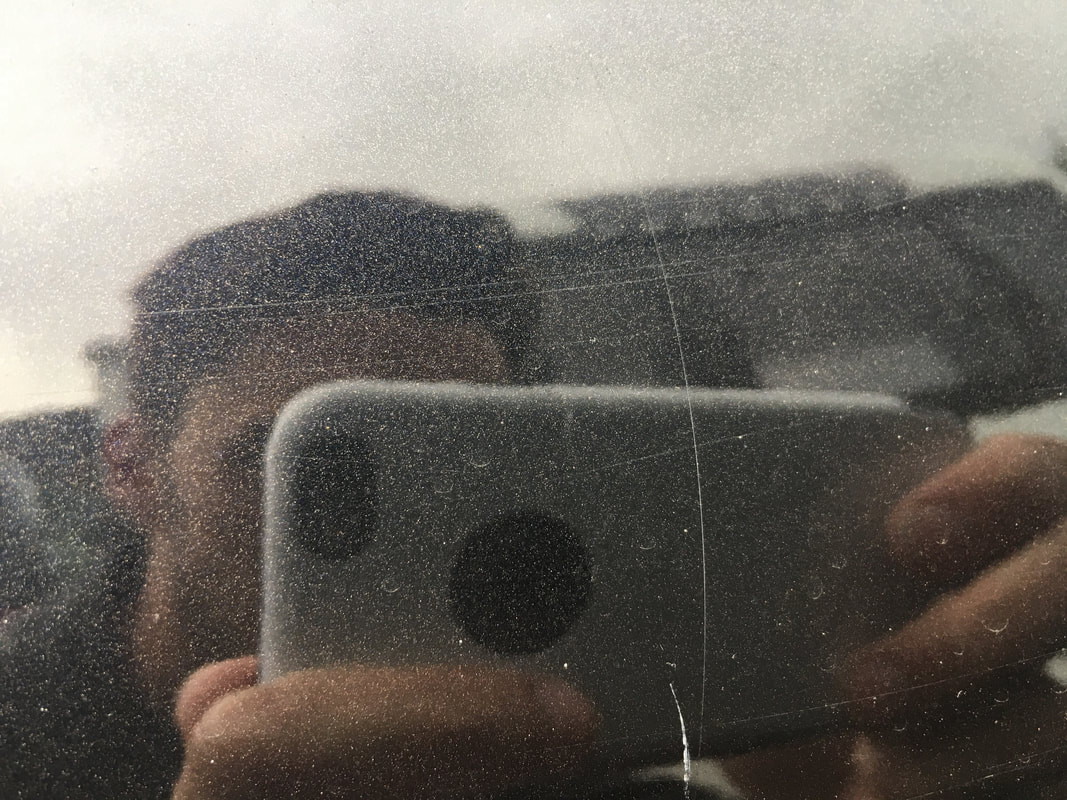
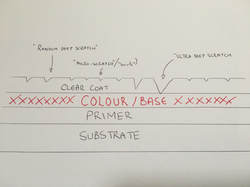 Scratches that do not breach past the clear coat into the base coat can generally be removed or improved by compounding, or wet-sanding if appropriate. Of course, this should be carried out in a manner that respects paint depth levels. Is it really worth taking the clear coat down to it's last few microns of thickness to address a scratch that is barely noticeable? Perfectly defect free finishes, if they exist in the real world, reflect light into the retinas of our eyes unhindered. We can see swirl marks because the surface is no longer microscopically smooth; the surface area in the micro-scratches deflect the light in all sorts of directions which our eyes pick up on, and the image sent to our brain then alerts the prefrontal cortex to scream "holy crap, better call a detailer!". Trouble starts when the object that has scratched the paint has gone right through the lacquer into the layers beneath. Abrasive work might round the edges off, but the fact remains that the scratch is just too deep to remove. The only decent fix is a respray in this case, or application of touch-up paint if you can live with a suboptimal result. I'm hoping that this device will help me to make even further informed decisions in regards to how to tackle small marks and scratches, and also prove to people that when I say it's too deep I am acting on an educated basis and not apathy. Here's the picture of scratch number eleventy billion, it's too deep to remove, look I got proof! The below pictures were taken from cars that reside in my street, with the permission of their owners. The first picture is of scratches around the door handles generally caused by fingernails and rings. Take note of the micro-scratches that surround. These following two pictures are of another car, where an isolated vertical scratch is pictured in normal view, and then magnified. You can compare the degree of this scratch against the metallic flake in the base coat. This could generally be improved to a satisfactory degree with wet-sanding and machine compounding. The digital microscope can take pictures and videos at 1000x magnification. I thought I'd have a little play around with some items in the house, can you guess what they are?
2 Comments
16/2/2020 02:48:18 am
I am happy to see the renovation that you are trying to make with your van. It seems like you are doing it for professional purpose, that's why I support you all the way. It's complicated based on how I see it, but I am pretty sure that it's going to be full of challenge, but one thing I am sure of is the fact that you can do it because you know better. By the way, are you open with doing this to other cars. I am not really sure if you are open with it but I am sure that a lot will get your service.
Reply
23/1/2024 09:33:24 am
Thank you so much! I hope to see more updates from you.
Reply
Leave a Reply. |
AuthorAndrew Southall, just a guy obsessed with shining up cars. Archives
March 2021
Categories |



 RSS Feed